Why Most Corrugated Metal Roof Leaks Are Easier to Fix Than You Think
Corrugated metal roof repair is one of the most cost-effective ways to stop leaks before they spiral into expensive structural damage — and in most cases, you don’t need to replace the entire roof to do it.
Quick Answer: How to Fix a Corrugated Metal Roof Leak
- Locate the leak — inspect fasteners, seams, and penetrations first (95% of leaks start here, not in the panels themselves)
- Clean the surface — remove rust, dirt, and old sealant with a wire brush and solvent
- Treat rust — apply rust converter and primer to any corroded areas
- Seal or patch — use polyurethane sealant or butyl tape for seams; apply a metal patch for holes
- Fasten correctly — use EPDM washer screws, tightened until the washer slightly compresses but doesn’t mushroom
- Inspect annually — re-seal every 5–10 years depending on your climate
Here’s the thing most homeowners don’t know: the metal panels themselves almost never fail first. According to the Metal Roofing Alliance, 95% of metal roof leaks occur at seams, fasteners, and penetrations — not from the corrugated panels cracking or splitting. That means a targeted repair, rather than a full replacement, is usually all you need.
What causes those failure points? Three main culprits:
- Thermal expansion and contraction — Metal expands and contracts with temperature swings, causing screws to slowly work loose over time (a process called fastener fatigue)
- EPDM washer degradation — The rubber washers that seal each screw hole dry out and crack under UV exposure, breaking the waterproof seal
- Seam deterioration — Panel overlaps separate as sealant ages, allowing water to wick underneath through capillary action
If you’re dealing with serious storm damage or aren’t sure of the full extent of the problem, working with a trusted residential roofing contractor is always a smart first step. But for the majority of corrugated roof leaks, a focused DIY repair with the right materials will get the job done.
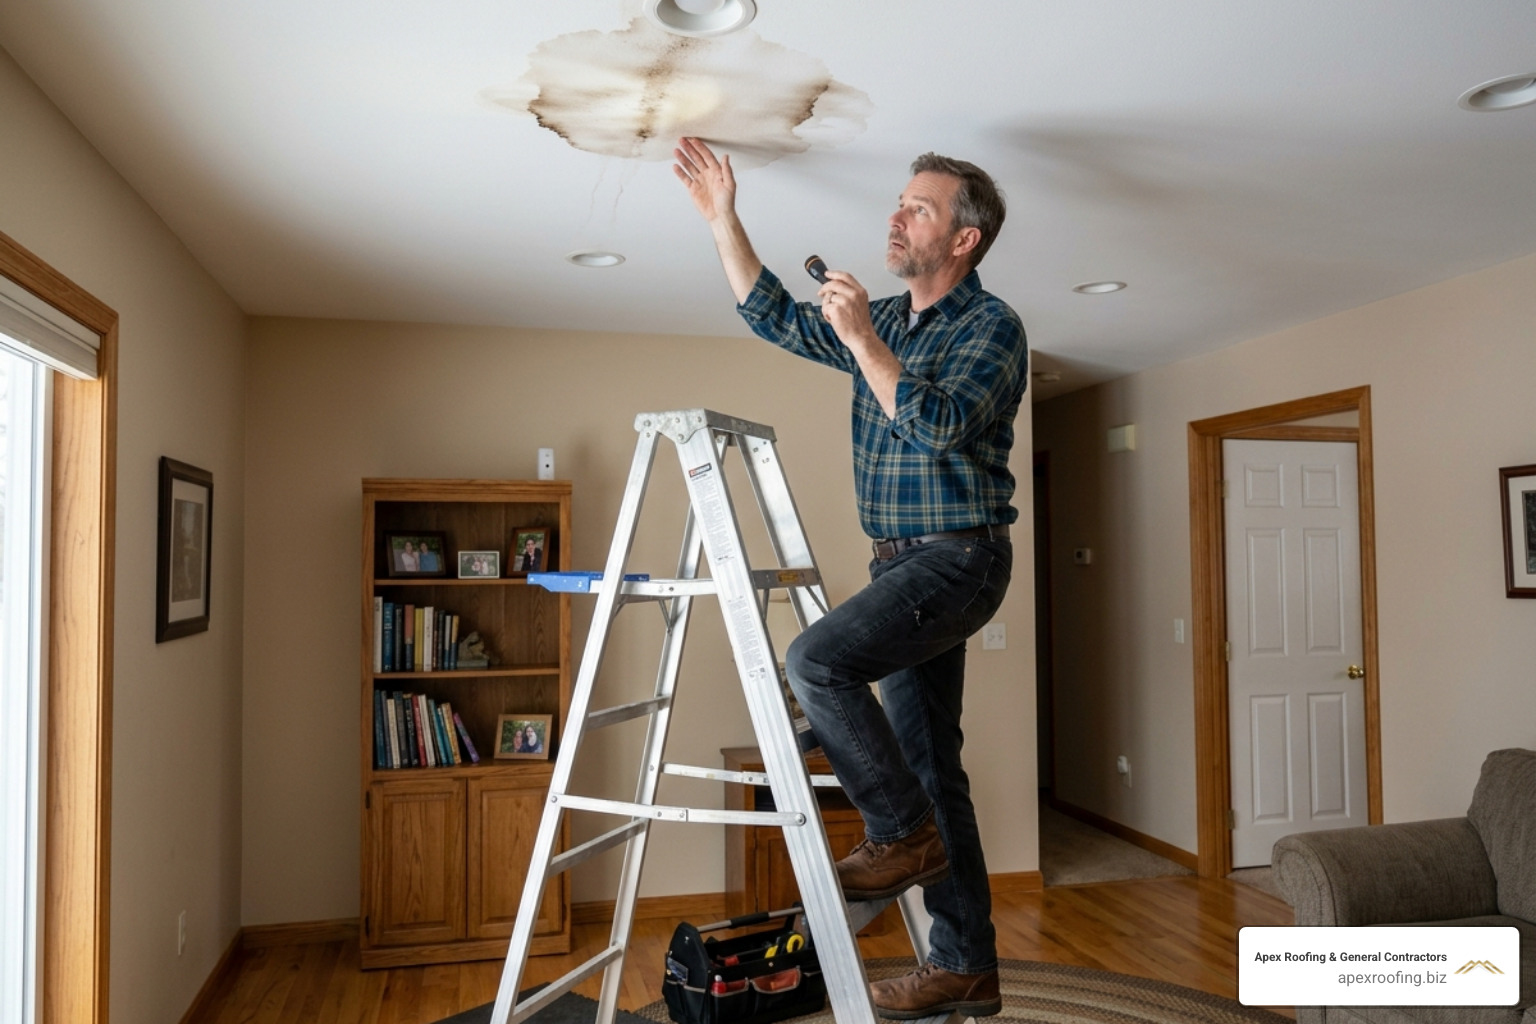
I’m Carlos Yzaguirre, President of Apex Roofing & General Contractors in San Antonio — and over the years, our team has handled hundreds of corrugated metal roof repair jobs ranging from single-fastener fixes to full seam restorations across Texas. In this guide, I’ll walk you through exactly what we do, step by step, so you can tackle the most common repairs yourself with confidence.

Common corrugated metal roof repair vocab:
Understanding the Need for Corrugated Metal Roof Repair
To execute a lasting corrugated metal roof repair, you must first understand the intense physical forces acting on your roof.
Metal roofs expand and contract up to 1 inch per 100 feet during temperature fluctuations, placing immense stress on fasteners. In San Antonio, where summer roof surface temperatures frequently soar to 160°F during the day and drop rapidly after a sudden thunderstorm, this thermal movement is incredibly pronounced.
As a 20-foot steel panel heats and cools, its thermal movement can reach nearly 1/4 inch between hot and cold extremes. This constant shifting creates a “rocking” motion on the roof screws, which eventually enlarges the fastener holes in the sheet metal or backs the screws out completely. Once a screw backs out even a fraction of an inch, the rubber washer loses its compression, and water finds an open gateway into your home.

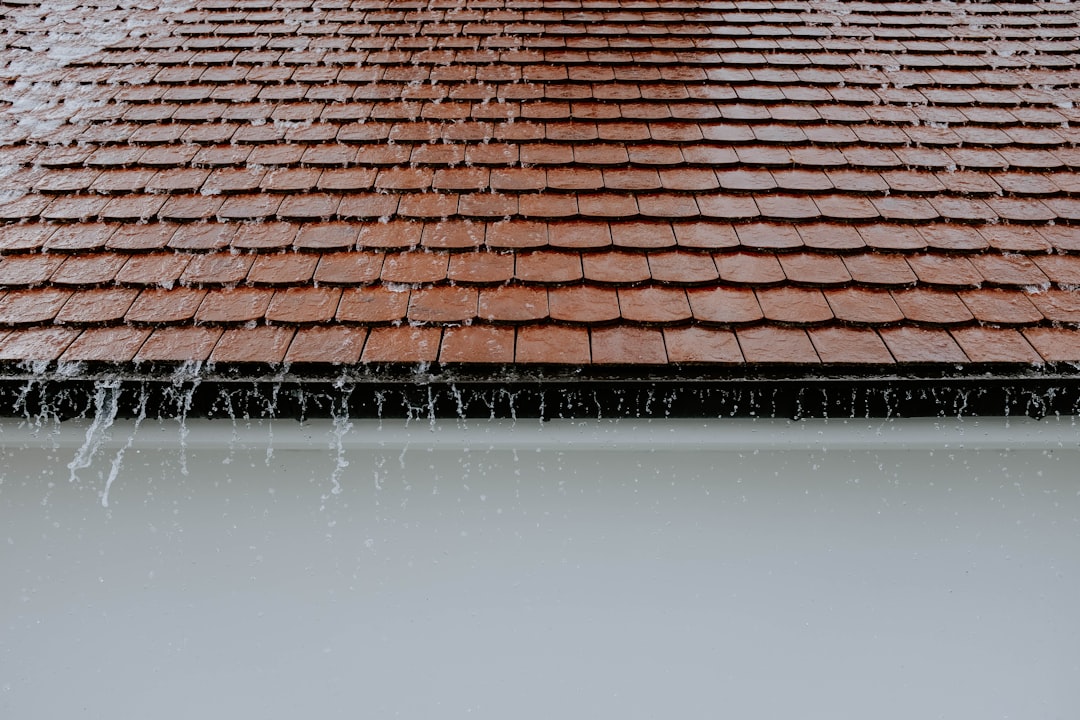
Beyond fastener fatigue, water has a sneaky way of moving upward and sideways against gravity through a physical phenomenon known as capillary action. When two corrugated metal panels overlap at the seams, a microscopic gap can act like a straw, drawing standing water or wind-driven rain upward between the sheets. If the original sealant installed between these overlaps has degraded, the water will bypass the seam and drip directly onto your roof decking or ceiling.
Over time, ignored moisture issues lead to a rapid acceleration of rust and corrosion. While corrugated metal is typically manufactured with a protective zinc or Galvalume coating, scratches, standing water, and UV exposure eventually wear this shield down. Once raw steel is exposed to oxygen and water, red rust begins to eat away at the panel’s structural integrity. Managing these issues early prevents a minor, localized leak from turning into a major structural headache. For a deeper look at identifying early warning signs, read our guide on how to spot a leaky metal roof and find a watertight solution.
Essential Tools and Materials for Metal Roof Fixes
Before climbing up your ladder, you must gather the correct, professional-grade materials. Using the wrong sealant or fastener is the single most common reason DIY repairs fail within the first year.
First and foremost, let’s talk about sealants. You must completely avoid standard, general-purpose silicone caulk from your local big-box store. While silicone is excellent for bathrooms, it lacks the chemical formulation to bond permanently with shifting metal panels. Furthermore, standard silicone degrades rapidly under intense UV exposure and will peel away from metal within 1 to 3 years.
Instead, always use a high-solids polyurethane sealant or a premium butyl-based sealant. Polyurethane sealants provide incredible adhesion to galvanized steel and aluminum, and they remain highly flexible, stretching and contracting along with the roof’s thermal movement. For overlapping horizontal and vertical seams, butyl tape is the industry gold standard. It remains permanently sticky and pliable, sandwiched safely between metal panels where it can last 20 to 30 years.
To ensure your repairs meet professional standards, we recommend cross-referencing material compatibility with guidelines from the Metal Construction Association.
Here is your complete checklist of essential tools and materials:
- Polyurethane Roof Sealant: Specifically formulated for metal roofs (e.g., Sika or Titebond WeatherMaster).
- Butyl Tape Sealant: For concealed panel overlaps.
- Replacement Roofing Screws: Galvanized steel or coated screws equipped with integrated EPDM (ethylene propylene diene monomer) rubber washers. Choose screws slightly larger in diameter than your original screws to grip the enlarged holes.
- Metal Patch Material: Matching corrugated metal sheet sections (galvanized steel or aluminum) to construct custom patches. You can learn more about selecting the right patch material in our comprehensive metal roof patch guide.
- Wire Brush & Sandpaper: For removing surface rust, oxidation, and old, failed sealants.
- Solvent: Denatured alcohol or acetone to clean and prep the metal surface.
- Tin Snips: For cutting metal patches to size.
- Cordless Drill/Driver: Equipped with hex-head bits.
- Safety Equipment: Heavy-duty work gloves, safety glasses, non-slip shoes, and a fall-protection safety harness.
Step-by-Step Guide to Patching Holes and Sealing Seams
Now that your tools are ready and you understand the mechanics of your roof, let’s dive into the physical repair process.

Preparing the Surface for Corrugated Metal Roof Repair
Clean the metal surface thoroughly before applying any sealant; patches will fail to adhere to rust, dirt, or old silicone. If you try to apply a premium polyurethane sealant over a layer of fine Texas dust or loose rust flakes, the sealant will simply bond to the debris and peel off during the very next rainstorm.
Follow this precise preparation process:
- Scrape Away Old Sealant: Use a plastic scraper or a putty knife to peel back any old, cracked caulking around the target area. Be careful not to gouge the protective coating of the metal panels.
- Wire Brush the Area: Vigorously scrub the repair zone with a stiff wire brush to remove stubborn dirt, loose paint, and surface rust. If you are dealing with a heavily weathered roof, reading our guide on how to restore your corrugated iron roof without losing your mind can provide valuable context on handling widespread surface oxidation.
- Scuff the Metal: Use medium-grit sandpaper to lightly scuff the metal surface. This creates microscopic grooves (known as “mechanical tooth”) that dramatically improve the sealant’s physical bond.
- Wipe with Solvent: Soak a clean rag in denatured alcohol or acetone and thoroughly wipe down the prepped area. This removes residual oils, grease, and fine metal dust.
- Verify Dryness: Wait for the solvent to fully evaporate. The metal surface must be 100% dry and free of moisture before any sealant or tape is applied.
Executing a Seamless Corrugated Metal Roof Repair
With a pristine, prepped surface, you can now apply the patch or seal the seams to create a permanent, watertight barrier.
How to Patch a Hole in a Corrugated Panel:
- Cut the Patch: Using your tin snips, cut a patch from a matching piece of corrugated metal. The patch must extend at least 2 inches beyond the edges of the hole in all directions. Crucially, cut the corners of the patch so they are rounded rather than sharp; rounded corners are far less likely to catch debris, wind, or ice.
- Shape the Patch: Bend and contour the patch so its ridges and valleys match the exact profile of the underlying roof panel. A flush fit minimizes tension on the sealant.
- Apply Sealant: Apply a continuous 1/4-inch bead of polyurethane sealant around the underside perimeter of the patch, keeping it about 1 inch inward from the edges. Apply a second bead directly around the hole on the roof.
- Press and Secure: Press the patch firmly over the hole. You should see a small amount of sealant squeeze out from the edges, confirming a complete seal.
- Fasten the Patch: Secure the patch using your hex-head roofing screws with EPDM washers. Space the screws 2 to 3 inches apart around the perimeter. Drive the screws in straight — never at an angle.
- Check Washer Compression: Tighten each screw until the EPDM rubber washer slightly compresses and expands to the edge of the metal washer. Do not over-tighten, or the rubber will mushroom, split, and crack, causing a premature leak.
- Seal the Edges: Run a neat bead of polyurethane sealant along the exposed outer edges of the patch, tooling it smooth with a gloved finger to shed water.
For detailed visual steps on managing smaller punctures or screw-specific issues, check out our dedicated guide on patching screw holes in a metal roof as well as our step-by-step metal roof hole repair walkthrough.

How to Seal Separated Seams:
To fix a leaking horizontal or vertical overlap on an existing roof, clean out any debris from between the overlapping sheets using a thin putty knife. Pry the panels apart slightly and slide a strip of butyl tape into the overlap, or inject a generous bead of polyurethane sealant deep into the seam. Once the sealant is in place, drive new, slightly oversized EPDM washer screws through the high ribs of the overlap spaced every 10 to 12 inches to clamp the panels tightly together.
DIY vs. Professional Repairs: When to Call the Experts
While minor punctures, loose screws, and isolated seam leaks make excellent weekend DIY projects, some situations demand professional intervention. Understanding your limits can save you thousands of dollars in structural damage and keep you safe.

Consider the following factors before climbing onto your roof:
- Roof Pitch and Height: Working on a steep-slope roof requires specialized fall-protection gear, roofing jacks, and experience. If your roof has a pitch greater than 4:12, or if it is a multi-story structure, leave the work to the pros.
- Widespread Rust: If more than 15% to 20% of your roof panels are covered in deep red rust, patching will no longer be effective. The underlying steel has likely thinned to the point where it cannot securely hold fasteners. In this scenario, selective panel replacement or a complete roof restoration is required.
- Hidden Structural Decay: If water has been leaking silently for months, the wooden purlins, rafters, or decking beneath the metal panels may be rotten. If the wood is soft, new roofing screws will have nothing to grip, and the panels can easily tear free during high winds.
- Wind and Storm Damage: Severe storms can lift entire panels, warp structural trim, or compromise ridge caps. Attempting to bend distorted panels back into shape rarely results in a watertight seal. If you suspect wind damage, review our guide on how to handle metal roof wind damage to understand the complexities involved.
- Warranty Concerns: If your metal roof is relatively new, performing DIY repairs or using non-approved sealants can instantly void your manufacturer’s material or weather-tightness warranty.
If you are facing complex leaks, widespread corrosion, or simply want the peace of mind that comes with a certified repair, it is highly recommended to consult with experienced professionals. You can read more about the specialized repair process in our guide on how to repair metal roof leaks professionally.
Frequently Asked Questions About Corrugated Metal Roofs
What is the best sealant for corrugated metal roof repairs?
Polyurethane sealant and butyl tape are the best sealants for metal roofs because they maintain flexibility during thermal expansion. Standard silicone should be avoided as it loses adhesion to metal over time. Polyurethane provides exceptional UV resistance and bonds aggressively to painted, galvanized, or Galvalume steel, while butyl tape is the ideal choice for creating a long-lasting, watertight barrier hidden between overlapping panel seams. For more details on choosing the right products, check out our guide on creating a watertight solution for a leaky metal roof.
How long do corrugated metal roof repairs typically last?
A high-quality DIY metal roof patch or sealant repair typically lasts 5 to 10 years depending on local weather exposure, UV radiation, and routine maintenance. In contrast, professional seam sealing and panel repairs utilizing commercial-grade polyurethane coatings can easily last 15 to 20 years. To maximize the lifespan of your repairs, perform visual inspections twice a year (every spring and fall) to catch backed-out fasteners or degrading washers early. Learn more about the overall longevity of metal systems in our explanation of the complete metal roof installation process.
What is the typical cost range for corrugated metal roof repairs?
Minor DIY repairs cost between $50 and $150 in materials, whereas professional repairs typically range from $300 to $1,500 depending on the leak’s severity and roof accessibility. For instance, replacing a few dozen backed-out fasteners and sealing a single seam is highly affordable. However, if multiple panels require replacement or if there is underlying structural wood rot, costs will increase. When comparing long-term options, consult our guide on replacing asphalt shingles with a metal roof to understand how metal’s durability offsets initial repair and installation costs.
Conclusion
At Apex Roofing & General Contractors, we are proud to be a premier provider of residential and commercial roofing solutions in San Antonio, Texas. Our certified, reliable service is built on transparent communication, exceptional craftsmanship, and strict compliance with local building codes.
Whether your home has suffered hail damage from a recent Texas storm or your existing corrugated metal roof is showing signs of age, our team of dedicated San Antonio Roofers is here to help. We bring local expertise and professional-grade equipment to every job, ensuring your home remains safe, dry, and secure.
Don’t let a minor leak turn into a major headache. Schedule a professional inspection and access our Professional Roof Repair Services to protect your home. Call us today at (726) 727-7663 for a free estimate and a free inspection, and let our family take care of yours.