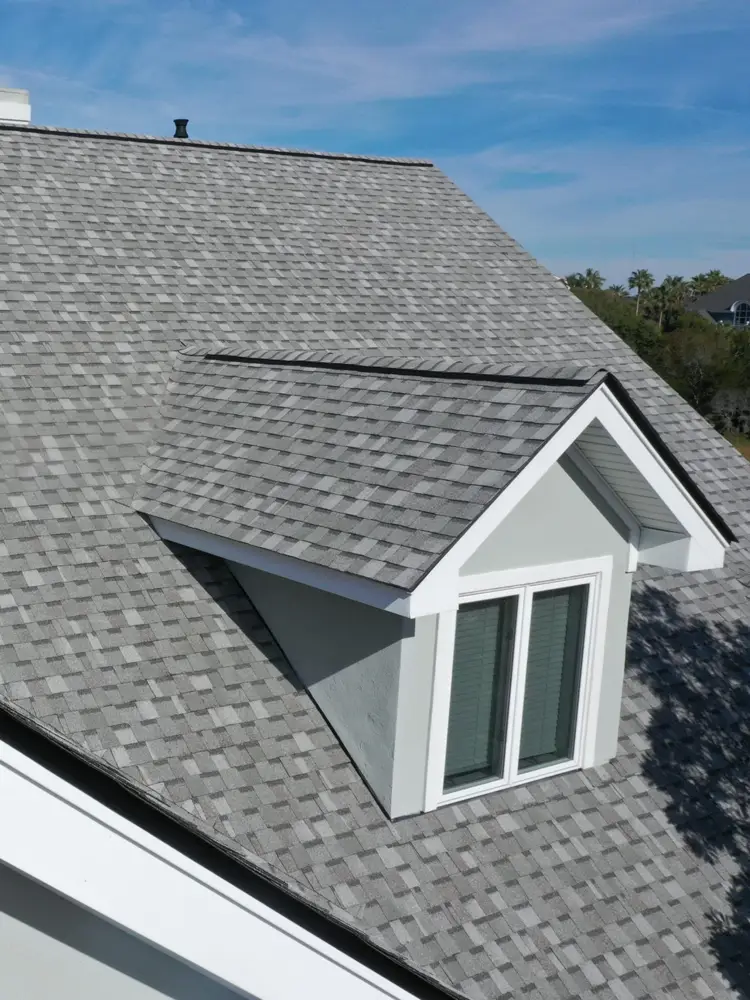
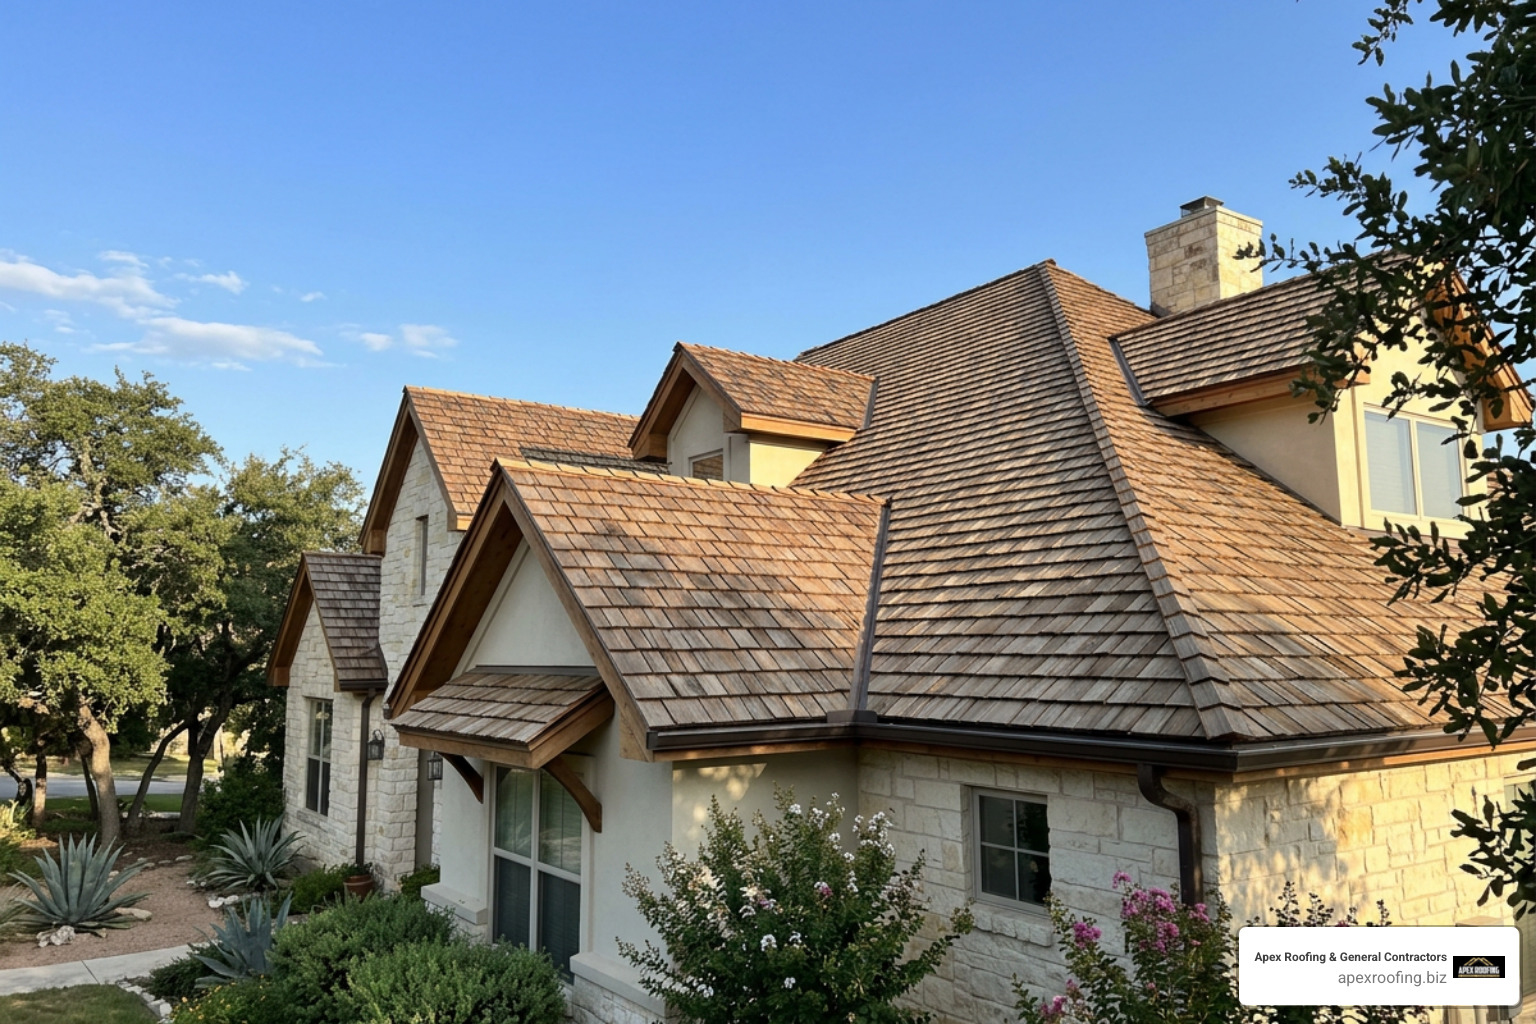
What Is the Metal Roof Installation Process? (Quick Answer)
The metal roof installation process involves a clear sequence of steps that, when followed correctly, produces a roof that lasts 40 to 70 years. As a leading provider of professional roofing services in San Antonio, we ensure every project meets the highest standards of durability and safety. If you need the short version, here it is:
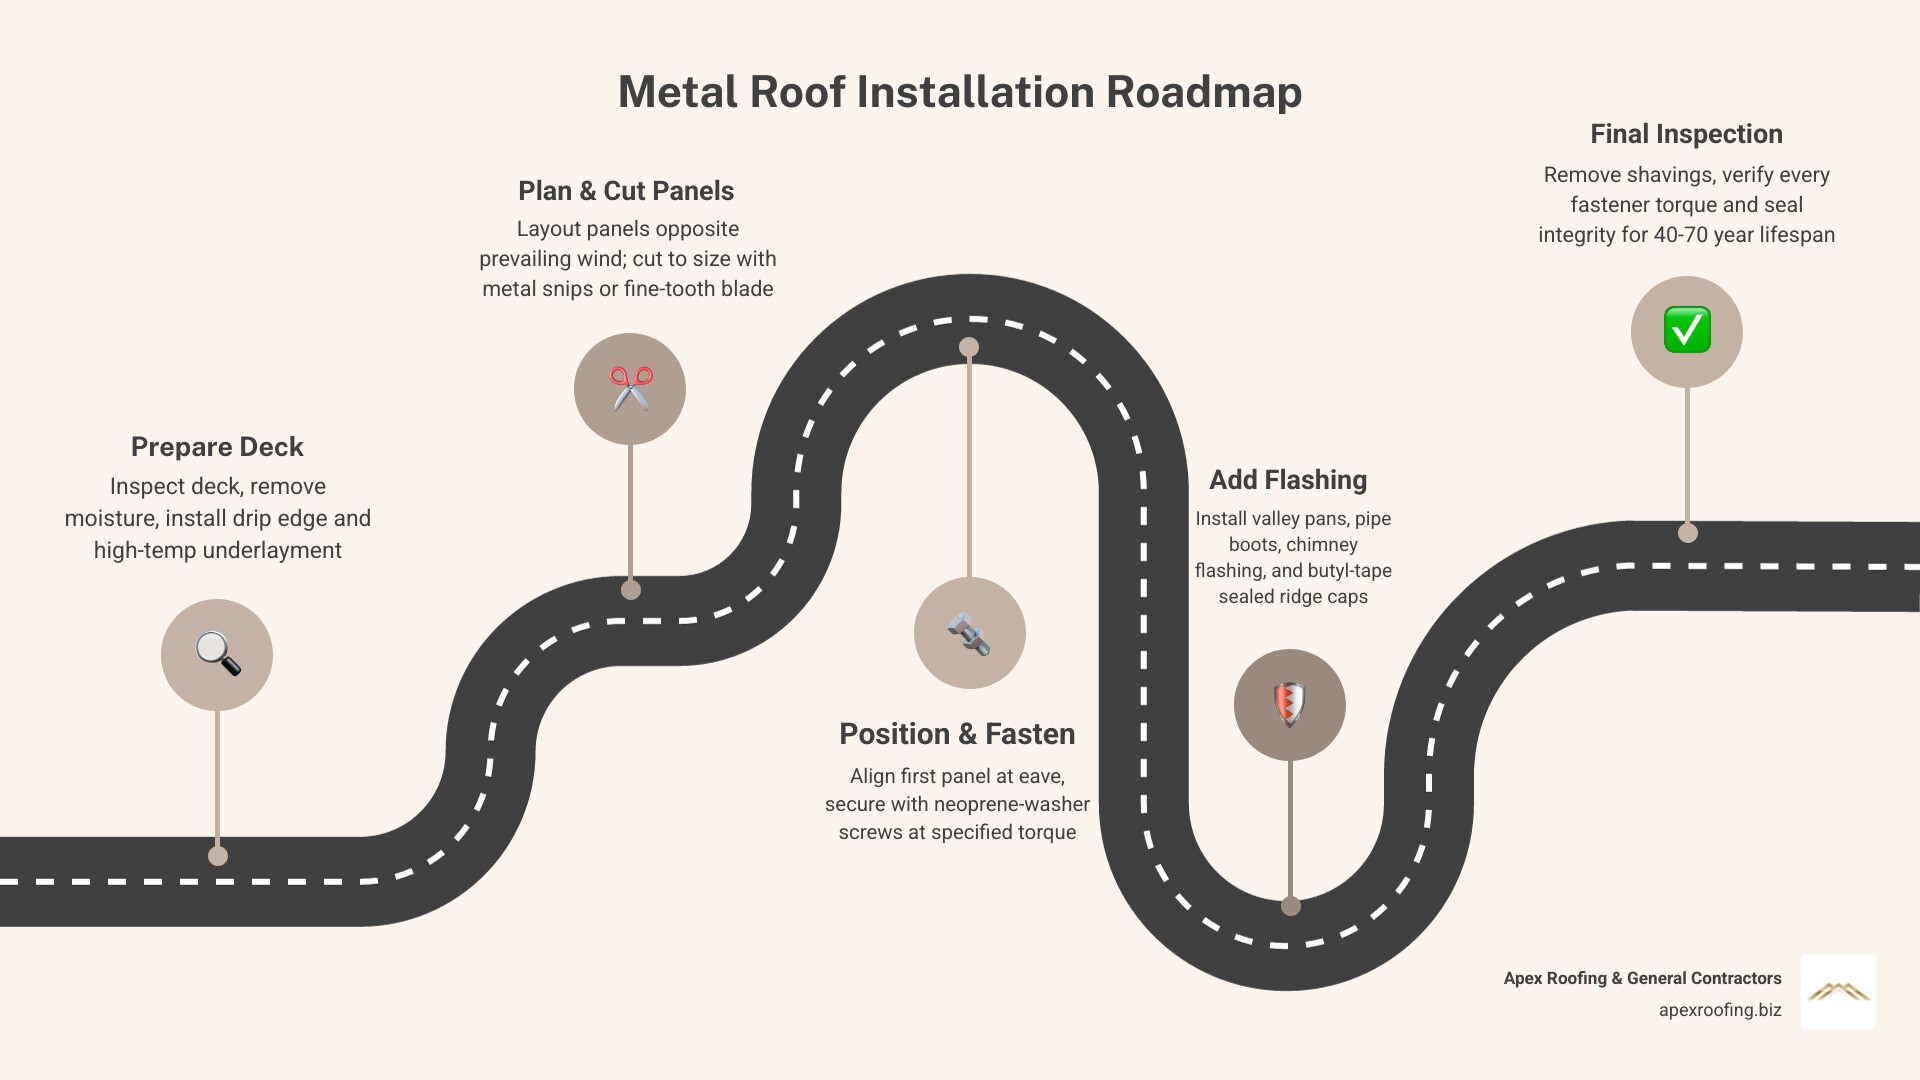
- Inspect and prepare the roof deck
- Install underlayment and drip edge
- Plan panel layout starting opposite prevailing winds
- Cut panels to size using metal snips or a fine-tooth blade
- Position and secure the first panel aligned with the eave
- Overlap and fasten subsequent panels per manufacturer specs
- Install flashing around chimneys, vents, and valleys
- Attach ridge caps along the roof peak
- Final inspection – check every fastener, seam, and edge
A correctly installed metal roof does more than just protect your home – it can cut cooling costs by up to 25% and outlast two or three asphalt roofs over the same period. But done wrong, it leaks at fasteners, buckles at seams, and creates expensive problems that shorten its performance life significantly.
Whether you’re a San Antonio homeowner weighing a full metal roof replacement or looking for expert roofers near me to understand what the process involves before hiring a contractor, this guide walks you through every stage – clearly and without jargon.
I’m Carlos Yzaguirre, President of Apex Roofing & General Contractors, and I’ve overseen hundreds of residential roofing projects across San Antonio and Texas, including complex metal roof installations on everything from single-story homes to multi-section commercial properties. My hands-on experience with the metal roof installation process means the guidance in this article reflects what actually works in the field – not just what looks good on paper.
Related content about metal roof installation process:
Understanding the Metal Roof Installation Process and Benefits
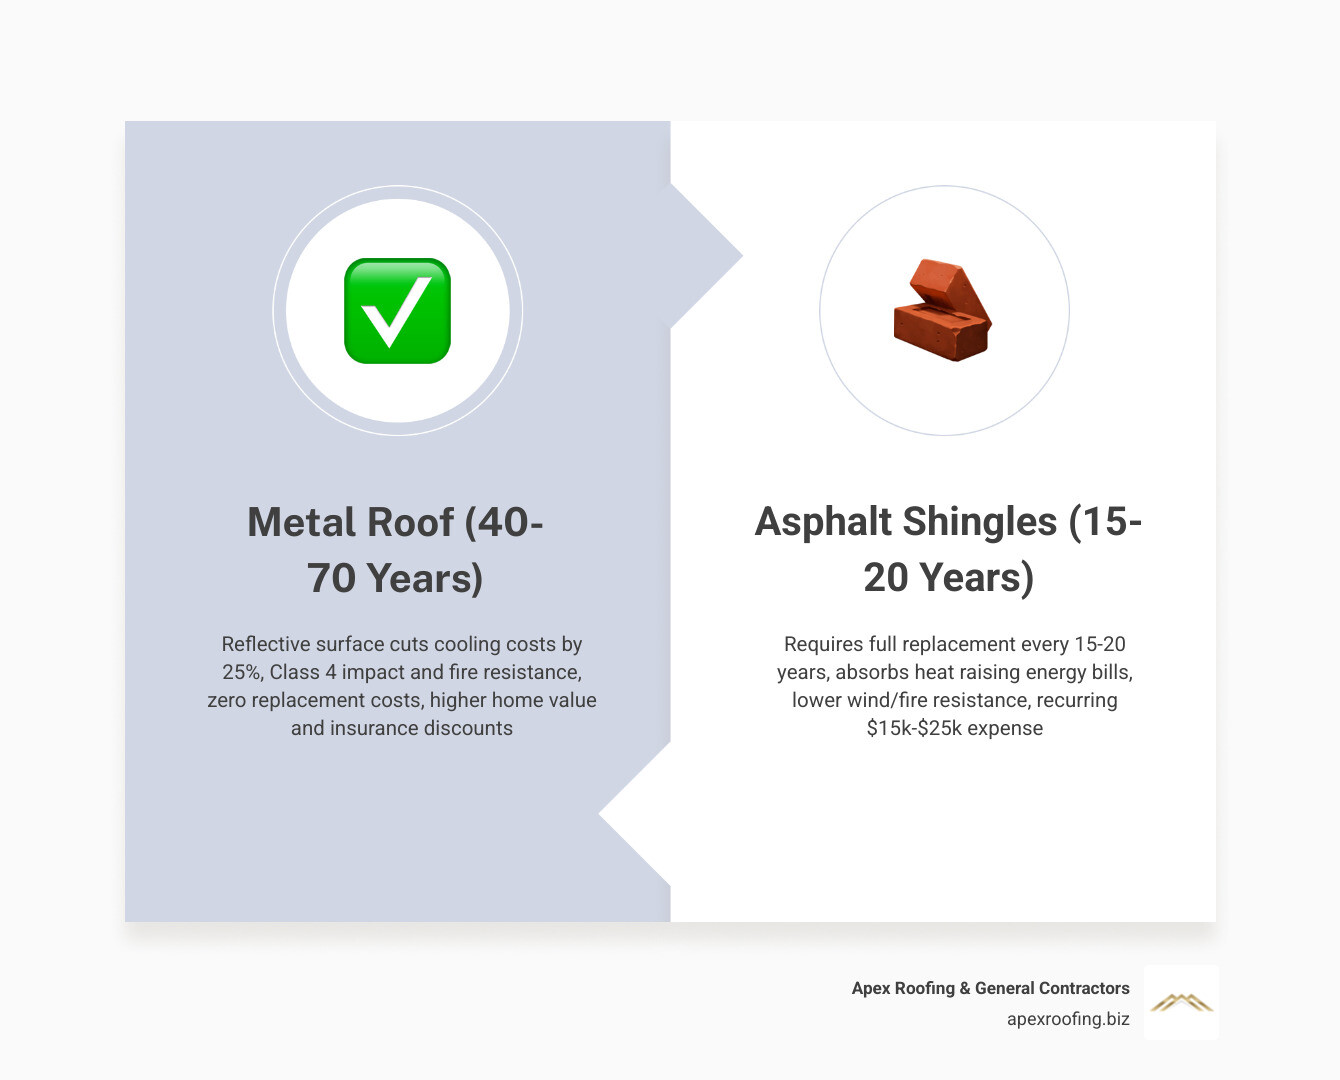
Choosing a metal roof is one of the smartest long-term investments you can make for your property. While the upfront cost is higher than traditional materials, the lifespan of a metal roof is typically 40 to 70 years. In contrast, standard asphalt shingles often require replacement every 15 to 20 years. For San Antonio homeowners, this means you may never have to roof your house again.
Beyond longevity, the top 5 benefits of using a metal roof in San Antonio include incredible energy efficiency. Metal is naturally reflective; it bounces solar radiant heat away from your home rather than absorbing it. This thermal property can reduce your cooling costs by up to 25%, which is a lifesaver during our sweltering Texas summers. Furthermore, metal roofs are highly fire-resistant and can withstand high-wind events that would strip shingles right off a deck.
According to the Metal Roof Installation: Professional Methods Guide 2026, the success of these benefits depends entirely on the precision of the installation. A metal roof is a “system,” not just a series of panels. Every layer, from the substrate to the ridge cap, must work in harmony to ensure a watertight seal.
Choosing the Right Panels for Your Metal Roof Installation Process
Not all metal roofs are created equal. When we talk about residential metal roofs, we generally categorize them into two main types:
- Standing Seam Systems: These feature concealed fasteners. The panels interlock at a raised seam, hiding the screws underneath the metal. This eliminates thousands of potential leak points and allows for better thermal expansion.
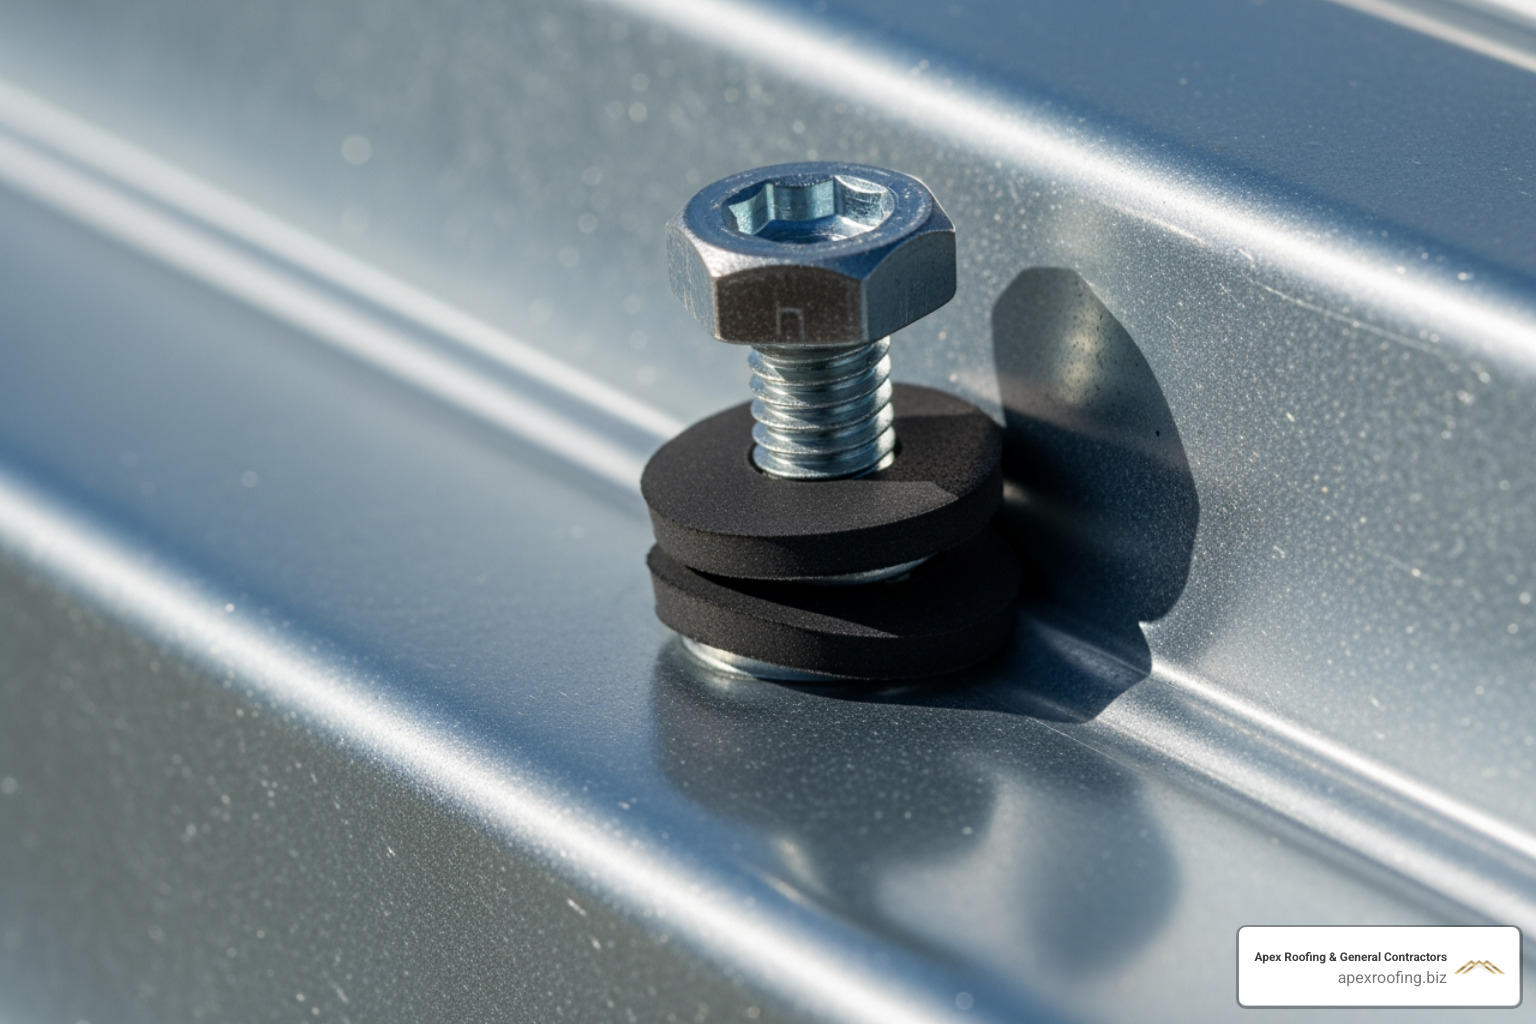
- Exposed Fastener Panels (Ribbed/Corrugated): These are more budget-friendly and involve driving screws with neoprene washers directly through the face of the metal. While effective, they require more maintenance as the washers can degrade over 10–20 years.
Material thickness, or “gauge,” is also critical. In the roofing industry, lower numbers mean thicker metal. We typically recommend 26-gauge steel for residential applications in San Antonio. While 29-gauge is cheaper, it is thinner and more prone to hail damage—something we see plenty of in Texas. Premium installations may even use 24-gauge for maximum structural integrity.
Cost and Value Considerations in 2026
As of May 2026, the cost to install a metal roof in San Antonio remains a significant but rewarding investment. On average, a metal roof costs two to three times more than asphalt shingles upfront. However, the Return on Investment (ROI) is realized through:
- Increased Home Value: Appraisals often reflect the premium nature of metal roofing.
- Insurance Discounts: Many Texas insurers offer lower premiums for Class 4 impact-resistant metal roofs.
- Zero Replacement Costs: You avoid the $15,000–$25,000 bill for a shingle replacement every two decades.
Essential Tools and Preparation for Installation
Before the first panel is ever lifted, preparation is paramount. If you are attempting a DIY installation on a simple structure like a shed or detached garage, you’ll need a specific arsenal of tools.
Required Equipment Checklist:
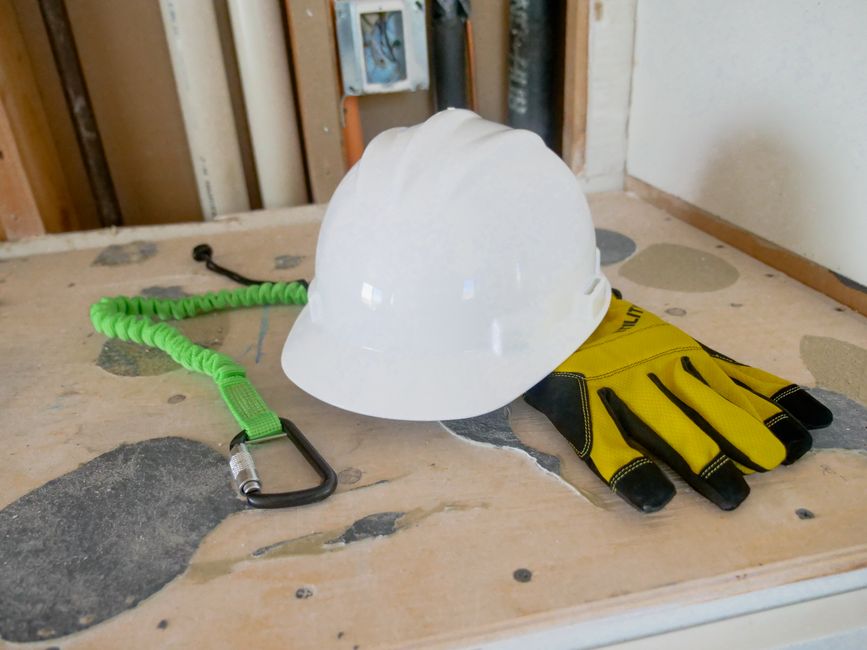
- Safety Gear: OSHA-compliant fall protection (harness and lanyard), non-slip rubber-soled shoes, and cut-resistant gloves.
- Cutting Tools: Aviation snips for detail work and a circular saw with a fine-tooth metal-cutting blade (cold-cut) for long straight lines.
- Fastening Tools: A torque-limiting screw gun or power drill with a hex head attachment.
- Layout Tools: A chalk line, 18-inch level, and a “speed square.”
One of the most common questions we get is about replacing asphalt shingles with a metal roof. In many cases, if the local building code allows and the existing roof has only one layer of shingles that are lying flat, you can install the metal directly over them. This saves on disposal fees and provides an extra layer of insulation. However, a full tear-off is always the “gold standard” for inspecting the deck for rot.
Preparing the Roof Substrate
A metal roof is only as good as the surface it sits on. Our metal roofing San Antonio complete guide emphasizes that the substrate must be smooth, dry, and structurally sound.
First, we inspect the plywood or OSB decking for soft spots. Any rot must be replaced immediately. Once the deck is clear, we install the underlayment. For metal roofs, we use high-temperature synthetic underlayment or a “peel-and-stick” ice and water shield. Standard felt paper is not recommended because metal can reach temperatures that cause felt to stick to the panels or degrade prematurely.
Next comes the drip edge. This is a metal flashing installed along the eaves (the bottom edge of the roof). It ensures that water running off the roof is directed into the gutters and away from the fascia board.
Safety Protocols and Building Codes
Safety is non-negotiable. Metal panels are incredibly slick, especially when wet or covered in morning dew. According to the CMP-Nailstrip-Install-Guide, you should never walk on unsecured panels.
In San Antonio, you must also ensure your project complies with local building codes. This usually involves obtaining a permit for a full roof replacement. At Apex Roofing, we handle the permitting process to ensure the metal roof installation process meets all wind uplift and fire safety requirements specific to our region.
Step-by-Step Guide to the Metal Roof Installation Process
Now, let’s get into the “how-to” of the actual installation. Precision starts with the very first panel.
- The 3-4-5 Squaring Method: To ensure your panels don’t “run” crooked as you move across the roof, you must establish a perfectly square reference line. Measure 3 feet along the eave and 4 feet up the rake; the diagonal between those points should be exactly 5 feet. If it isn’t, adjust your starting line.
- Eave Trim and Closures: Before laying the metal, install eave trim and foam closure strips. These strips match the profile of your panels and prevent birds, insects, and wind-driven rain from getting underneath the ribs.
| Feature | Standing Seam | Exposed Fastener |
|---|---|---|
| Fastener Type | Concealed Clips | Neoprene-Gasketed Screws |
| Maintenance | Very Low | Periodic Screw Inspection |
| DIY Difficulty | High (Requires Seamer) | Moderate |
| Cost | Premium | Economical |
Measuring and Cutting Panels for the Metal Roof Installation Process
Accuracy is the difference between a beautiful roof and a pile of wasted scrap metal. When ordering panels, we measure the length from the ridge to the eave and add about 1 inch for an overhang.
For cutting, avoid using abrasive “grinder” blades. These generate heat that can damage the protective Galvalume coating and create “swarf” (metal shavings) that will rust on your new roof. Instead, use electric nibblers or shears. As shown in this EASY & AFFORDABLE Guide, cutting slowly and steadily ensures the edges remain clean and corrosion-resistant.
Positioning and Securing the Metal Panels
The first panel is the most important. Align it with your square chalk line and ensure it has a 1-inch overhang at the eave to allow water to drop into the gutters.
When fastening, use #14 hex-head screws with bonded neoprene washers. Fastener torque is critical. You want to tighten the screw until the washer just begins to “mushroom” slightly.
- Too loose: The seal won’t be watertight.
- Too tight: You’ll crush the washer, causing it to crack and leak within a few years.
If you ever find yourself with a leaky metal roof, these 4 simple steps usually involve checking these fasteners first.
Finishing Details: Flashing, Ridges, and Valleys
The “field” of the roof—the big flat areas—is actually the easiest part. The real skill in the metal roof installation process is found in the trim and flashing.
- Valleys: Where two roof planes meet in a “V,” we install a W-shaped valley pan. This channel carries a high volume of water, so it must be flashed perfectly. We fasten valley pans only at the outer edges to allow for thermal movement.
- Ridge Caps: Once the panels are installed on both sides of a peak, a ridge cap is placed over the top. We use “outside closures” (foam blocks) under the ridge cap to keep the weather out while still allowing the attic to breathe.
- Butyl Tape: We use high-grade butyl sealant tape at every trim overlap. This provides a secondary “gasket” that keeps moisture from wicking between the metal layers.
Handling Roof Penetrations and Vents
Every hole you cut in a roof is a potential leak. For pipes and vents, we use “pipe boots”—flexible EPDM or silicone collars with a metal base that can be molded to the profile of the roof ribs.
For chimneys and skylights, we use custom-bent flashing. If you’re noticing moisture around these areas, you may need a metal roof patch or a full re-flashing. You can learn more about how to repair metal roof leaks to understand how these critical junctions are maintained.
Final Inspection and Cleanup
The last step is often the most overlooked: Cleanup. When we cut or drill metal, thousands of tiny steel shavings are created. If left on the roof, these shavings will oxidize (rust) within 24 to 48 hours, leaving orange stains all over your brand-new panels. We use a soft-bristle broom or a leaf blower to clear the roof after every work session.
Finally, we perform a “walk-through” to ensure every screw is seated and every seam is tight. If we find an accidental hole, we follow our patch screw holes metal roof guide to ensure the fix is permanent and invisible.
Common Mistakes and When to Hire a Professional
While the metal roof installation process is straightforward in theory, it is unforgiving of errors. Here are the most common mistakes we see:
- Over-tightening Fasteners: As mentioned, this is the #1 cause of premature leaks.
- Skipping Underlayment: Some try to save money here, but the underlayment is your last line of defense.
- Incorrect Overlaps: Panels must be overlapped so that the “anti-siphon” channel is covered, preventing water from being sucked under the seam.
- Incompatible Metals: Using copper flashing with steel panels will cause a galvanic reaction that eats through the metal.
If your roof has multiple valleys, dormers, or a very steep pitch, it is usually best to hire a professional metal roofing contractor in San Antonio. The specialized equipment and insurance required for high-altitude metal work make it a risky DIY project.
Frequently Asked Questions about Metal Roof Installation
Can I install a metal roof over existing asphalt shingles?
Yes, in most cases in San Antonio, you can install metal over one layer of shingles. We often use 1×4 furring strips (purlins) over the shingles to create a flat base and an air gap, which actually improves the roof’s insulation properties.
How long does the metal roof installation process typically take?
For a standard 1,500 to 2,000-square-foot home, a professional crew like ours can complete the installation in 2 to 4 days. A DIYer with a helper should plan for 5 to 10 days, depending on the complexity of the roof.
Are metal roofs noisier than traditional shingles during rain?
This is a common myth! When installed over a solid deck with proper underlayment and attic insulation, a metal roof is no louder than an asphalt roof. The layers of wood and insulation act as a sound dampener.
Conclusion
The metal roof installation process is a blend of engineering and craftsmanship. When done correctly, it provides a lifetime of security, energy savings, and “curb appeal” that other materials simply cannot match. Whether you are looking for a sleek standing seam look or a rugged ribbed profile, the key is in the details – the fasteners, the flashing, and the preparation.
At Apex Roofing & General Contractors, we pride ourselves on being the go-to experts for San Antonio homeowners. We understand the local climate, the building codes, and the specific challenges of Texas weather. We provide certified, reliable service with the transparent communication you deserve.
Ready to upgrade your home with a roof that lasts a lifetime? Contact us today for a free estimate and call us at (726) 727-7663 for a free inspection, or visit our page for more info about residential metal roofs. Let us help you get the job done right the first time.