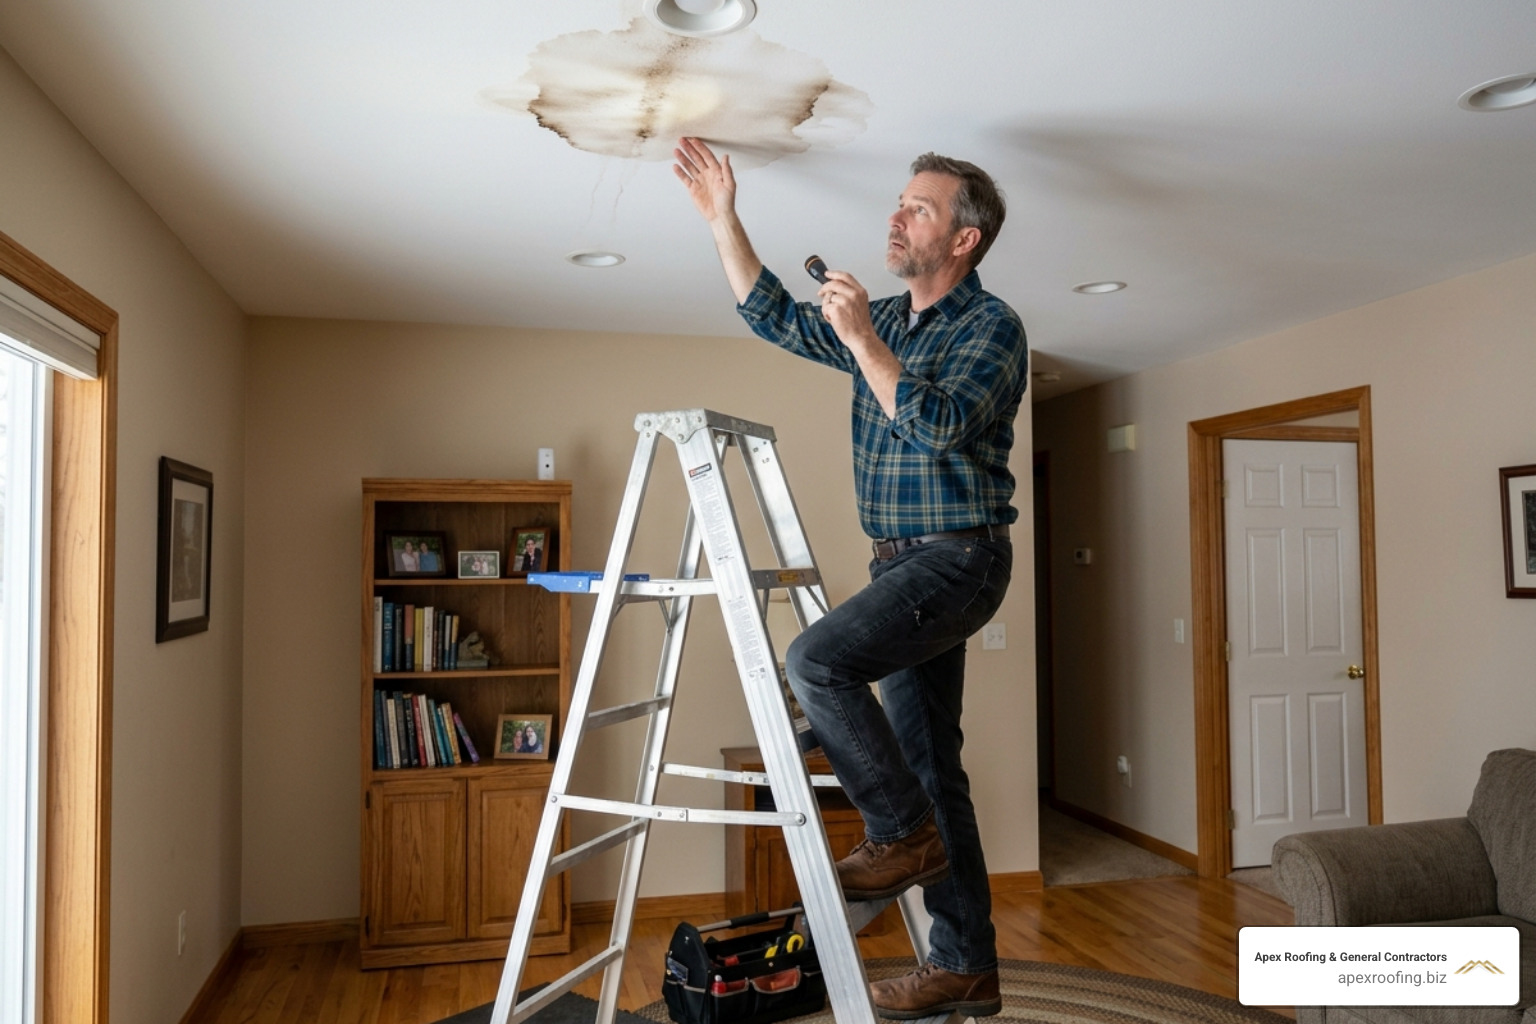
When Your Flat Roof Fails: What to Do Right Now
Emergency flat roof repair is the immediate process of stopping water intrusion on a flat roof to prevent structural damage, mold growth, and costly interior destruction. As a leading San Antonio roofing company, we understand that rapid response is essential for property protection. If you need to act fast, here are the five critical steps:
- Contain indoor water damage – Place buckets, move valuables, and puncture any bulging ceiling spots to drain water safely
- Locate the leak source – Check seams, flashing, drains, and ponding areas (water can travel over 10 feet from the entry point)
- Dry and clean the damaged area – No repair material bonds properly to a wet or dirty surface
- Apply a temporary patch – Use roofing cement with fiberglass mesh, a peel-and-stick membrane patch, or liquid rubber
- Cover with a tarp – Extend at least 3 feet beyond the damaged area and secure firmly
Why act immediately? According to the National Roofing Contractors Association (NRCA), moisture infiltration is the primary cause of insulation damage and structural rot. Mold can begin growing within 24 to 48 hours of water exposure. Every hour of delay turns a $200 fix into thousands in interior damage.
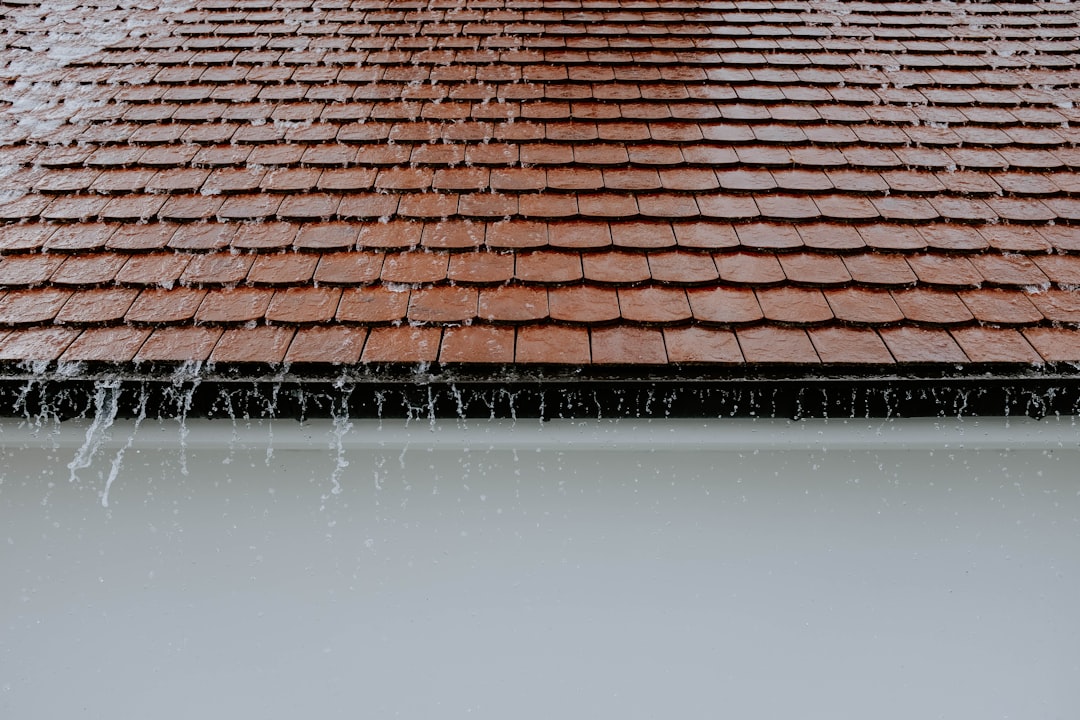
A flat roof leak during a San Antonio storm is not just an inconvenience – it is a race against the clock. Unlike sloped roofs that shed water naturally, flat roofs rely entirely on drains, slopes, and intact membranes to move water off the surface. When any of those systems fail, water sits, spreads, and finds every weakness in your roof assembly.
Whether you are dealing with a punctured EPDM membrane, failed flashing, or ponding water after a heavy Texas downpour, the steps you take in the first hour matter most. Our emergency roofing services are designed specifically for moments like these. For immediate assistance, you can reach our team at (210) 785-0994.
I’m Carlos Yzaguirre, President of Apex Roofing & General Contractors, and since co-founding the company in 2022 I have led our team through hundreds of emergency flat roof repair calls across San Antonio and the surrounding Texas region. In this guide, I will walk you through exactly what to do – from the first drip to the final professional fix.

Emergency flat roof repair terms made easy:
Common Causes and Identification of Flat Roof Emergencies

Flat roofs are unique beasts. While they offer modern aesthetics and space for HVAC units or roof decks, they are prone to specific failures that sloped roofs rarely face. In San Antonio, our intense heat followed by sudden thunderstorms creates a “thermal shock” environment that stresses roofing membranes to their breaking point.
The most frequent culprits behind an emergency flat roof repair include:
- Ponding Water: If water remains on the roof for more than 48 hours after rain, it creates immense pressure and accelerates membrane degradation.
- Seam Separation: Most flat roofs, such as EPDM or TPO, are installed in sheets. Over time, the adhesive at the seams can fail, creating a direct path for water.
- Flashing Failure: The metal or membrane bits that seal the edges of the roof and around vents are often the first to leak.
- Punctures: Hail, fallen branches, or even heavy foot traffic can tear the delicate waterproof skin of the roof.
Understanding these common roof repairs is the first step toward a successful DIY fix or a clear conversation with a pro.
Identifying the Source of a Leak
Finding the entry point on a flat roof is often harder than it looks. Because water follows the path of least resistance, it can travel more than 10 feet from where it enters the roof before it finally drips through your ceiling. This is known as “lateral water migration.”
To find the source, start by mapping the interior damage. Measure the distance from the nearest walls to the drip point and translate those measurements to the roof surface. Look for “trouble spots” like clogged drains, cracked flashing at the edges, or visible punctures. If the weather is dry, you can perform a hose test: have one person run water over specific sections of the roof while a helper inside watches for the first sign of a drip. This is a highly effective method for emergency leak detection when the visual evidence isn’t obvious.
The Role of Blisters, Cracks, and Ice Dams
In the Texas heat, trapped moisture under the membrane can turn into vapor, creating “blisters” or bubbles. If these pop, you have an immediate emergency. Similarly, the constant expansion and contraction from 100-degree days to cool nights can cause cracks in older modified bitumen or built-up roofs.
While San Antonio isn’t known for heavy snow, we do experience occasional freezes. Ice dams can form at the roof edges or around drains, blocking the flow of melting water and forcing it under the membrane seams. If you have a leaking rubber roof, these freeze-thaw cycles are often the primary catalyst for sudden failures.
Essential Tools and Safety for Emergency Flat Roof Repair
Before you grab a ladder, you need the right gear. A “quick fix” isn’t helpful if it fails in an hour or, worse, if you get hurt trying to apply it.
Essential Materials Checklist
For a reliable temporary patch, keep these items in your emergency kit:
- Roofing Cement (Wet-Patch): Look for “wet-surface” versions that can be applied even while it’s raining.
- Fiberglass Mesh: This acts as the “rebar” for your patch, giving the cement structural integrity.
- Utility Knife: For cutting membrane patches or clearing away damaged material.
- 6-mil Polyethylene Tarp: Heavy-duty protection for large areas.
- Cleaning Supplies: A stiff brush and rags to remove dirt and algae.
When dealing with EPDM flat roof repair, ensure your materials are compatible with rubber; some petroleum-based cements can actually melt EPDM membranes.
Safety Precautions for DIY Repairs
Safety is non-negotiable. Never attempt an emergency flat roof repair during high winds or active lightning.
- Check Structural Soundness: If the roof feels “spongy” or is sagging, do not walk on it. The decking may be rotted, and you risk falling through.
- Use a Spotter: Always have someone on the ground who knows you are on the roof.
- Power Line Awareness: Be extremely careful with ladders and metal tools near overhead lines.
- Slip-Resistant Footwear: Flat roofs become incredibly slick when wet or covered in algae.
For residents in areas like Leon Valley, local storms can be unpredictable. If the conditions are too dangerous, it is always better to call for emergency roof repair in Leon Valley rather than risking a fall.
Step-by-Step Instructions for Temporary Fixes
Once you have identified the leak and ensured it is safe to proceed, follow these steps to apply a fast temporary solution.
Applying a DIY Emergency Flat Roof Repair Patch
- Clean the Area: Use a brush to scrub away dirt, silt, and loose granules. A patch will not stick to mud.
- Dry if Possible: Even “wet-patch” products work better on a dry surface. Use a rag to soak up standing water.
- Apply the Base Layer: Spread a 1/8-inch thick layer of roofing cement over the leak, extending at least 6 inches beyond the damaged area.
- Embed the Mesh: Press a piece of fiberglass mesh into the wet cement.
- Apply the Top Layer: Cover the mesh with another layer of cement, “feathering” the edges so water flows over the patch rather than getting caught on the lip.
This “bandage” method is a staple of common roof repairs and can buy you several months of protection while you plan a permanent fix.
Using Liquid Rubber and Sealants
For smaller cracks or pinhole leaks, liquid rubber or silicone sealants are excellent. Silicone is highly UV resistant—a must for San Antonio—and remains flexible as the roof moves. However, be aware that most liquid sealants require a temperature between 50°F and 85°F to cure properly. For business owners, using these materials for emergency commercial roof repair can keep operations running without the need for a full shutdown.
Professional Techniques for Emergency Flat Roof Repair Tarping
If the damage is too large for a patch—such as a tree limb puncture or a large section of wind-blown membrane—you must use a tarp. Tarping a flat roof is different than tarping a sloped one because you cannot rely on gravity to keep the water moving.
Securing the Tarp Without Damaging the Membrane
The biggest mistake people make is using duct tape or bricks to hold down a tarp. Wind will easily catch the edges, turning the tarp into a sail that can rip even more of your roof off.
We recommend the “Sandwich Method”:
- Lay the tarp over the damage, extending it 3 feet in every direction.
- Wrap the edges of the tarp around 2×4 lumber.
- Secure the lumber to the roof using weighted sandbags or water bladders.
- If you must use fasteners, screw the lumber into the roof’s perimeter (the fascia or parapet wall) rather than through the main field of the membrane to avoid creating new leaks.
This method is essential when a flat roof is leaking at the edge, as it creates a firm seal against wind uplift.
Managing Drainage and Ponding Under Tarps
A tarp on a flat roof can actually cause water to pool if not installed correctly. You must create “slack” or channels that allow water to reach the drains. Never cover a roof drain or scupper with a tarp unless you provide an alternative path for the water. If you are tarping a flat roof apartment complex, ensure that your tarp doesn’t redirect water into a neighbor’s unit or block communal drainage systems.
Mitigating Indoor Damage and Professional Intervention
While you are working on the roof, don’t forget the interior. Spending 15 minutes on indoor triage can save you thousands.
- Relieve Pressure: If you see a bulge in your ceiling, water is pooling behind the drywall. Gently puncture the center of the bulge with a screwdriver to drain the water into a bucket. This prevents the entire ceiling from collapsing.
- Dehumidify: Use fans and dehumidifiers immediately to pull moisture out of the air. This is your best defense against mold.
Refer to our roof leak repair guide for more tips on managing interior damage.
When to Hire Experts for Emergency Flat Roof Repair
Not every leak is a DIY project. You should call a professional immediately if:
- The roof is over 20 years old: At this age, the membrane is likely brittle, and a patch may cause more damage.
- Structural Sagging: This indicates the wooden decking is failing.
- Repair Costs vs. Replacement: The National Roofing Contractors Association (NRCA) suggests that if repair costs exceed 50% of the replacement cost, it’s time for a new roof.
For those in the San Antonio area, our team provides expert emergency roofing in San Antonio to evaluate these factors and provide an honest assessment.
Preventing Future Emergencies Through Maintenance
The best emergency flat roof repair is the one you never have to do. Good maintenance can cut life-cycle costs by roughly 40%.
- Clear Drains: Clogged drains are the #1 cause of flat roof leaks.
- Trim Trees: Keep branches at least 6 feet away from the roof line.
- Bi-Annual Inspections: Check your roof every spring and fall.
Our commercial roof repair guide for 2026 outlines the long-term strategies needed to keep your property dry for decades.
Frequently Asked Questions about Flat Roof Emergencies
How long do temporary flat roof patches last?
Temporary patches typically last 3 to 6 months in the Texas climate. However, a professionally installed tarp is only intended to shield a roof for 4 to 6 weeks. These are “band-aids” meant to buy you time to schedule a permanent repair.
Can I use duct tape for a quick roof fix?
No. Duct tape is not UV-stable and will fail within hours of sun exposure. Furthermore, it leaves a sticky residue that makes professional repairs more difficult and can trap moisture against the membrane, accelerating rot.
What is the “sandwich method” for tarping?
This involves wrapping the edges of a heavy-duty tarp around 2×4 lumber boards. These boards are then weighted down or fastened to the roof perimeter. This “sandwiches” the tarp, preventing the wind from getting underneath and creating a much tighter seal than simply laying the tarp flat.
Conclusion
When it comes to your home or business, water is the ultimate enemy. A small drip today can become a structural nightmare tomorrow. While performing a DIY emergency flat roof repair is a great way to mitigate immediate damage, it is rarely a permanent solution.
At Apex Roofing & General Contractors, we pride ourselves on being the most reliable roofing contractors in San Antonio. We understand the local building codes, the unique Texas weather challenges, and the urgency that comes with a leaking roof. Whether you need a simple patch, a professional tarping service, or a full commercial flat roof installation, we are here to help.
Don’t let a minor leak turn into a major catastrophe. If you are currently facing a roofing crisis, take the first step toward peace of mind. Visit our emergency roof repair page to schedule your professional inspection today. We’ll get your roof—and your life—back to normal. Contact us for free estimates at (726) 727-7663 for a free inspection.