Why a Cement Sheet Water Leakage Solution Matters More Than You Think
Finding the right cement sheet water leakage solution is urgent — water damage spreads fast and gets expensive quickly. Here’s a direct answer to get you started:
Quick Answer: How to Fix Cement Sheet Roof Leaks
- Locate the leak — inspect joints, fasteners, overlaps, and ridge caps
- Clean the area — remove debris, moss, and loose material with a wire brush
- Fill cracks — use roofing cement, mortar, or a polyurethane sealant
- Apply primer — improves adhesion for the waterproofing layer
- Seal with a membrane — use a liquid rubber coating or elastomeric sealant in multiple thin coats
- Prevent future leaks — inspect twice a year and recoat every 5–10 years
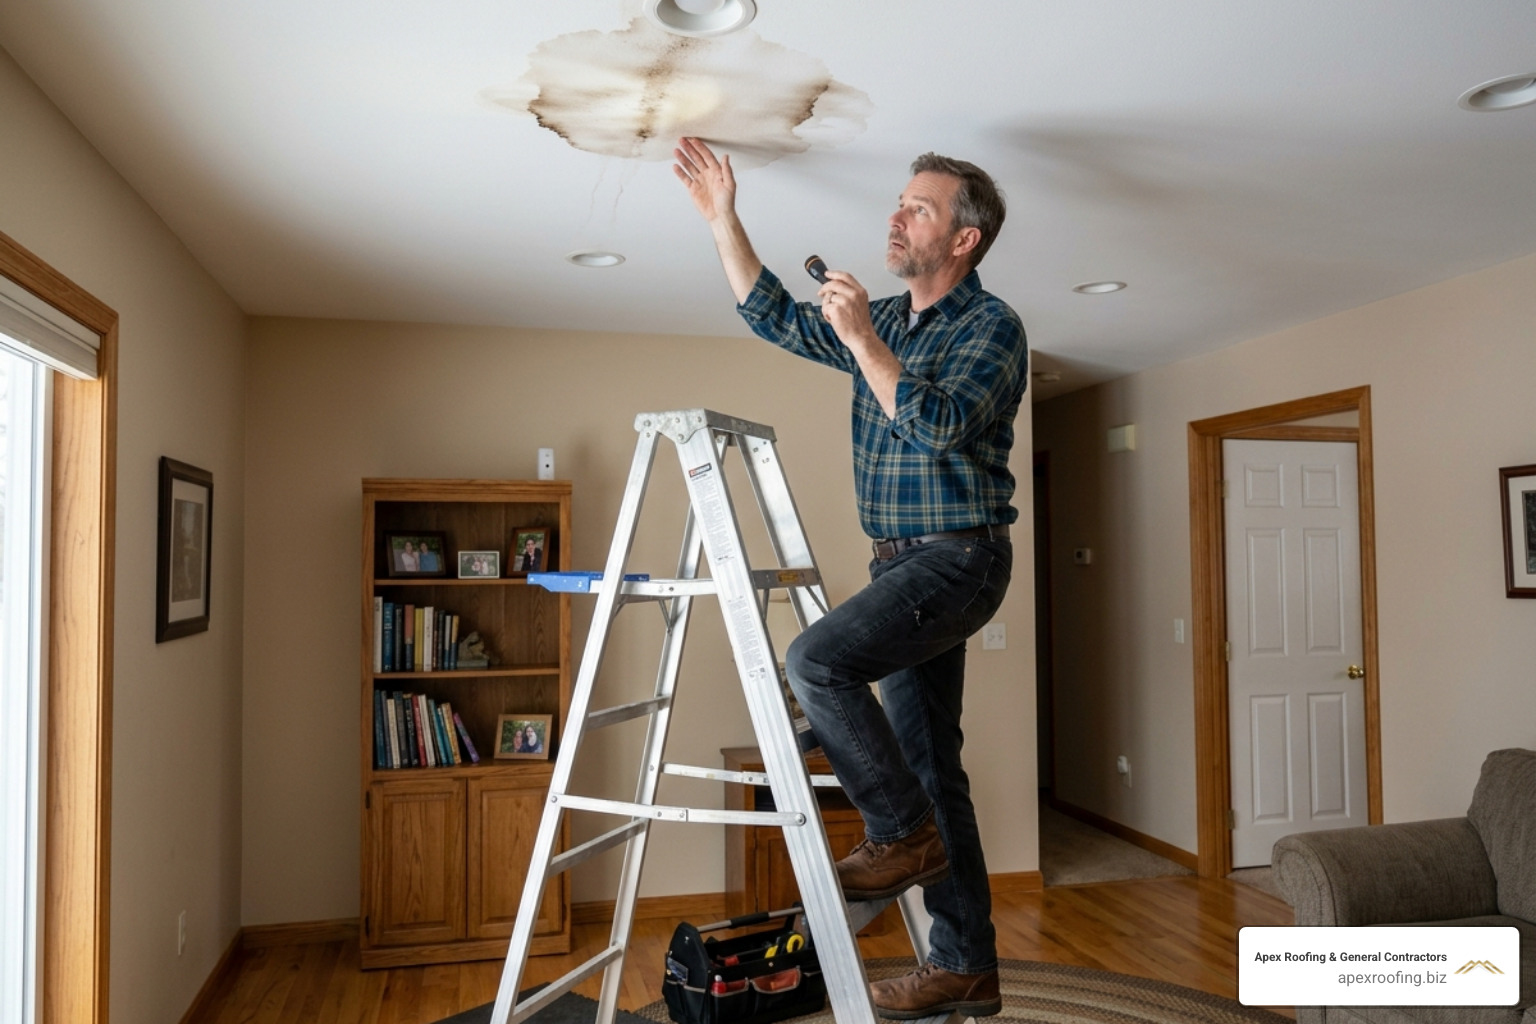
About 80% of property owners report some form of roof leakage — and cement sheet roofs are among the most common offenders. These roofs are tough and cost-effective, but they develop hairline cracks, loose fasteners, and failing joints over time. Left alone, a small drip becomes a soaked ceiling, damaged insulation, and weakened structural framing.
The good news? Most cement sheet leaks are fixable — if you know what you’re doing.
Whether you’re a San Antonio homeowner dealing with post-storm damage or a property manager trying to stay ahead of maintenance costs, this guide covers everything: causes, materials, step-by-step repair methods, and when to call in a pro. For trusted residential roof repair services in Texas, working with experienced contractors saves you from costly mistakes.
I’m Carlos Yzaguirre, President of Apex Roofing & General Contractors, and over the years I’ve diagnosed and repaired hundreds of cement sheet roofs across San Antonio and throughout Texas — from minor joint sealing to full waterproofing membrane installations. Every cement sheet water leakage solution in this guide reflects real-world repair experience, not just theory.

Cement sheet water leakage solution terms simplified:
Common Causes of Cement Sheet Roof Leaks
To implement an effective cement sheet water leakage solution, you must first understand why these roofs fail. Cement sheets (including fiber cement and older asbestos cement panels) are highly rigid materials. While their rigidity makes them durable, it also makes them vulnerable to structural movement, environmental stress, and physical degradation.
Thermal Expansion and Structural Cracks
Thermal expansion is the leading cause of structural cracking in cement sheet roofs. In San Antonio, Texas, summer temperatures routinely exceed 100°F, driving roof surface temperatures up to 160°F or higher. This intense heat causes the cement sheets to expand. At night, as temperatures drop, the sheets contract.
Because cement sheets are rigid and have a low coefficient of elasticity, this daily expansion and contraction cycle creates immense structural stress. Over time, this stress manifests as micro-cracks around fasteners, seams, and the body of the sheets. If you are wondering why is my roof leaking, these thermal micro-cracks are often the silent culprits.
Degraded Fasteners and Loose Bolts
Cement sheet roofing panels are secured to the underlying purlins using heavy-duty roof fasteners, typically J-bolts or drive screws. To prevent water from entering the fastener holes, installers use rubber washers or bitumen felt washers beneath a metal cap.
Over years of exposure to intense Texas sunshine and UV radiation, these rubber washers dry out, crack, and dry-rot. Once the washer fails, a direct path is opened for rainwater to seep through the fastener hole. Additionally, the constant thermal movement of the sheets can gradually loosen the J-bolts, allowing wind uplift to create small gaps where water easily enters. This is a primary reason why asbestos cement sheet waterproofing projects focus heavily on replacing or sealing old fasteners.
Gaps in Sheet Overlaps and Ridge Caps
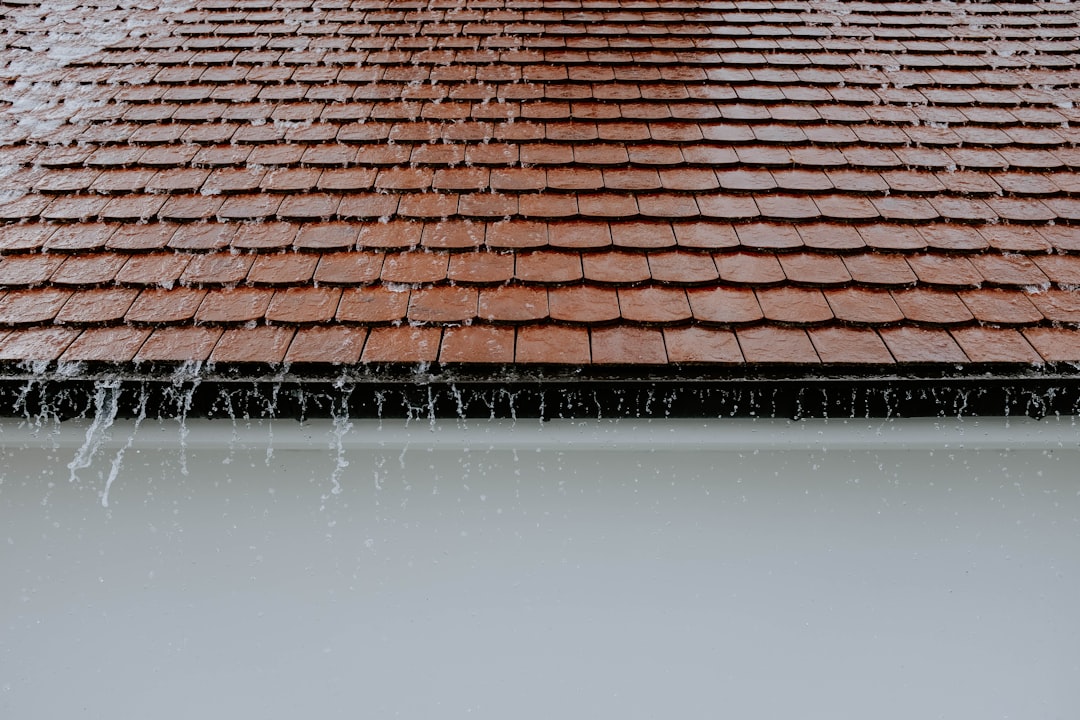
Cement roofing is installed by overlapping adjacent panels both horizontally and vertically. These sheet overlaps rely on a tight fit and proper slope to shed water. However, strong winds and heavy storms can cause wind uplift, slightly shifting the panels and widening the gaps at the overlaps.
Furthermore, capillary action can draw standing water upward and backward through tight overlaps during heavy downpours. Ridge caps—the protective pieces covering the peak of the roof—are also highly vulnerable. If the mortar or sealant beneath the ridge cap erodes, rainwater will blow directly under the peak and flood the interior space.
How to Identify and Locate the Source of a Roof Leak
Water rarely travels in a straight line. A drip coming from your ceiling might have entered the roof ten feet away and traveled along a structural purlin before falling. Finding the exact entry point is critical to applying a successful cement sheet water leakage solution.
Visual Inspection and the Hose Test
A systematic visual inspection is your first line of defense. Start inside the building during a dry period, looking for water stains, mold growth, or damp wood along the rafters. Mark these spots.
Next, safely access the roof. Always wear a safety harness and use crawl boards or roof ladders; cement sheets can become incredibly brittle with age and may collapse under direct foot traffic. Look closely for:
- Cracked, chipped, or sagging sheets
- Rusted J-bolts or missing rubber washers
- Gaps at the overlaps and ridge caps
- Accumulations of dirt, moss, or debris that hold moisture
If a visual inspection doesn’t reveal the leak, perform a hose test. With one person inside the building watching the ceiling with a flashlight, a second person on the roof should run a garden hose over specific sections of the roof, starting from the lowest point (the eaves) and slowly moving upward toward the ridge. Spend 5 to 10 minutes on each section to allow the water to find its path. For a complete overview of this process, consult our detailed roof leak repair guide.
Advanced Leak Detection Methods
For difficult-to-locate leaks, professional roofers use specialized diagnostic tools.
- Infrared Cameras: Thermal imaging cameras detect temperature differences caused by trapped moisture. Wet insulation or damp wood behind or beneath cement sheets retains heat differently than dry materials, showing up clearly on a thermal scan.
- Moisture Meters: These hand-held devices measure the electrical resistance of the material to determine the exact moisture content of the substrate, helping pinpoint the wettest areas.
- Smoke Machines: In some commercial applications, non-toxic smoke is blown into the attic space under slight pressure. Technicians on the roof watch for where the smoke escapes, revealing the exact cracks and gaps.

Choosing the Right Cement Sheet Water Leakage Solution
When it comes to sealing a cement roof, not all waterproofing materials are created equal. Using the wrong product can result in a temporary fix that fails within a single season.
Silicone vs. Polyurethane: Finding Your Cement Sheet Water Leakage Solution
Using the right chemical sealant is crucial. Standard household silicone sealants do not adhere well to porous cement surfaces and degrade rapidly under direct sunlight. Instead, look for high-performance, neutral-cure silicone or polyurethane sealants.
Polyurethane sealants offer exceptional adhesion to concrete and cement, outstanding flexibility, and high resistance to physical wear. However, for extreme UV exposure, specialized weather-resistant silicone sealants designed specifically for roofing are highly effective.
| Material Type | Flexibility | Adhesion to Cement | UV Resistance | Best Used For |
|---|---|---|---|---|
| Neutral-Cure Silicone | High | Moderate-High | Excellent | Sealing around fasteners, skylights, and metal transitions. |
| Polyurethane Sealant | Very High | Excellent | Moderate-High | Filling deep structural cracks and expansion joints. |
| Butyl Tape (Aluminum Backed) | Moderate | Excellent (Instant) | High (due to foil) | Sealing sheet overlaps, ridge caps, and emergency patches. |
Liquid Rubber Membranes as a Long-Term Cement Sheet Water Leakage Solution
For comprehensive, long-term protection, liquid rubber membranes and elastomeric coatings are the gold standard. These liquid-applied coatings cure to form a seamless, highly elastic, and fully adhered waterproof barrier over the entire roof surface.
Products like acrylic-based elastomeric coatings or polyurethane-modified liquid membranes stretch and contract alongside the cement sheets during thermal cycles. This prevents the coating from cracking. Additionally, many of these coatings meet stringent liquid waterproofing membrane specifications, offering low vapor permeance and high crack-isolation capabilities.
Heavy-Duty Butyl Tapes for Quick Fixes
If you need an immediate, highly reliable repair, heavy-duty butyl tape with an aluminum foil backing is an excellent choice. Unlike standard duct tape, butyl tape features a thick layer of synthetic rubber adhesive that forms an instant, airtight, and waterproof bond with cement sheets. The aluminum backing protects the adhesive from UV degradation and weathering, making it perfect for sealing sheet overlaps, ridge caps, or performing an emergency roof leak fix.
Step-by-Step Guide to Repairing Cement Sheet Leaks
Once you have identified the leak and chosen your materials, follow this professional step-by-step repair process to ensure a permanent fix.
Step 1: Surface Preparation and Cleaning
The number one reason roof repairs fail is poor surface preparation. Waterproofing materials cannot bond to dirt, moss, or crumbling concrete.
- Clear Debris: Sweep away all leaves, branches, and loose dirt from the repair area.
- Scrape and Brush: Use a stiff wire brush to remove moss, algae, mold, and any old, failing sealants or paint.
- Pressure Wash: Pressure wash the area thoroughly to remove deep-seated grime. Keep the pressure moderate to avoid damaging weathered cement sheets.
- Dry Completely: Allow the roof to dry completely. Applying sealants or coatings to a damp surface will trap moisture and prevent proper adhesion.

Step 2: Filling Cracks and Sealing Joints
With a clean, dry surface, you can now address the physical gaps.
- Route the Cracks: For larger cracks (wider than 1/8 inch), use a small hand tool to gently clean out loose edges, creating a clean “V” shape to hold the sealant.
- Apply Primer: Apply a high-quality masonry primer to the crack and surrounding area. This binds any remaining microscopic dust and ensures maximum adhesion for your sealant.
- Fill the Gaps: Inject a high-performance polyurethane sealant into the crack, smoothing it flat with a putty knife. Ensure the sealant extends slightly beyond the edges of the crack. For detailed joint preparation, follow the steps in this cement sheet roof repair guide.
Step 3: Applying the Waterproof Membrane
For complete protection, apply an elastomeric liquid waterproofing membrane over the repaired areas.
- First Coat: Apply a generous first coat of liquid rubber or elastomeric coating over the crack or joint, extending at least 3 inches on either side.
- Embed Reinforcing Fabric: While the first coat is still wet, embed a strip of polyester reinforcing fabric into the liquid. Press it flat to eliminate any air bubbles or wrinkles.
- Second Coat: Immediately apply a second coat of liquid membrane over the fabric, fully saturating it. This creates a reinforced “sandwich” that can withstand significant structural movement.
- Curing: Allow the membrane to cure for 12 to 24 hours (depending on humidity and temperature) before exposing it to water. This creates a highly durable concrete roof leakage solution that will protect your building for years.
Frequently Asked Questions About Cement Sheet Roof Repairs
What is the most durable waterproof material for cement sheets?
Elastomeric liquid membranes (especially polyurethane-modified acrylics) are the most durable materials for cement sheets. They offer 8 to 12 years of reliable protection because they form a seamless, UV-resistant barrier that stretches up to 300% to accommodate thermal expansion.
Can I repair asbestos cement sheets safely?
Older cement sheets manufactured before the 1980s often contain asbestos. You can safely repair them only if you do not cut, sand, drill, or break the sheets, which releases dangerous airborne fibers. Always wear protective gear, including an N95 or HEPA-rated respirator, keep the sheets wet to prevent dust, and consult a professional for extensive damage.
How long does a typical cement sheet roof repair last?
A high-quality, professional-grade repair using elastomeric coatings and reinforcing fabric typically lasts 5 to 10 years. Simple patches using basic roofing tar or cheap silicone may fail within 6 to 12 months due to intense heat and thermal movement.
Protect Your Property with Professional Roof Repair
While minor cracks can be handled as a DIY project, extensive cement sheet damage, hard-to-find leaks, and older asbestos-containing roofs require professional expertise.
At Apex Roofing & General Contractors, we provide certified, reliable, and code-compliant roofing services throughout San Antonio, Texas. Our team of experienced technicians understands the unique challenges of Texas weather and delivers long-term solutions that protect your property.
Why Hire Apex Roofing & General Contractors?
- Local Expertise: We understand San Antonio’s building codes and extreme weather patterns.
- Certified Materials: We use only commercial-grade, highly flexible waterproofing systems.
- Safety First: Our teams are fully trained and equipped to handle fragile cement and asbestos roofing safely.
- Transparent Communication: We provide detailed inspections, clear estimates, and honest advice.
Don’t let a small drip turn into a major structural disaster. Contact San Antonio roofers at Apex Roofing & General Contractors today.
Call us today at (726) 727-7663 for your free estimate and to schedule a free inspection!