Why Acting Fast on Shingle Leak Repair Can Save You Thousands
How to fix a shingle leak repair fast — quick answer:
- Find the source — Inspect your attic for water stains and trace them upslope toward the roof deck
- Dry the area — Never work on a wet or icy roof
- Lift damaged shingles — Use a flat pry bar to break the seal
- Remove old nails — Extract fasteners from the damaged shingle and row above
- Slide in a replacement — Align the new shingle, secure with nails, and seal
- Test the repair — Use a garden hose to confirm the leak is sealed
Shingle leak repair is one of the most urgent home maintenance tasks a homeowner can face. Asphalt shingles cover nearly 70% of residential homes in the United States — and even a well-installed roof will eventually show signs of wear. If you’re in South Texas, working with a trusted roofing contractor in San Antonio is the fastest way to stop damage before it compounds.
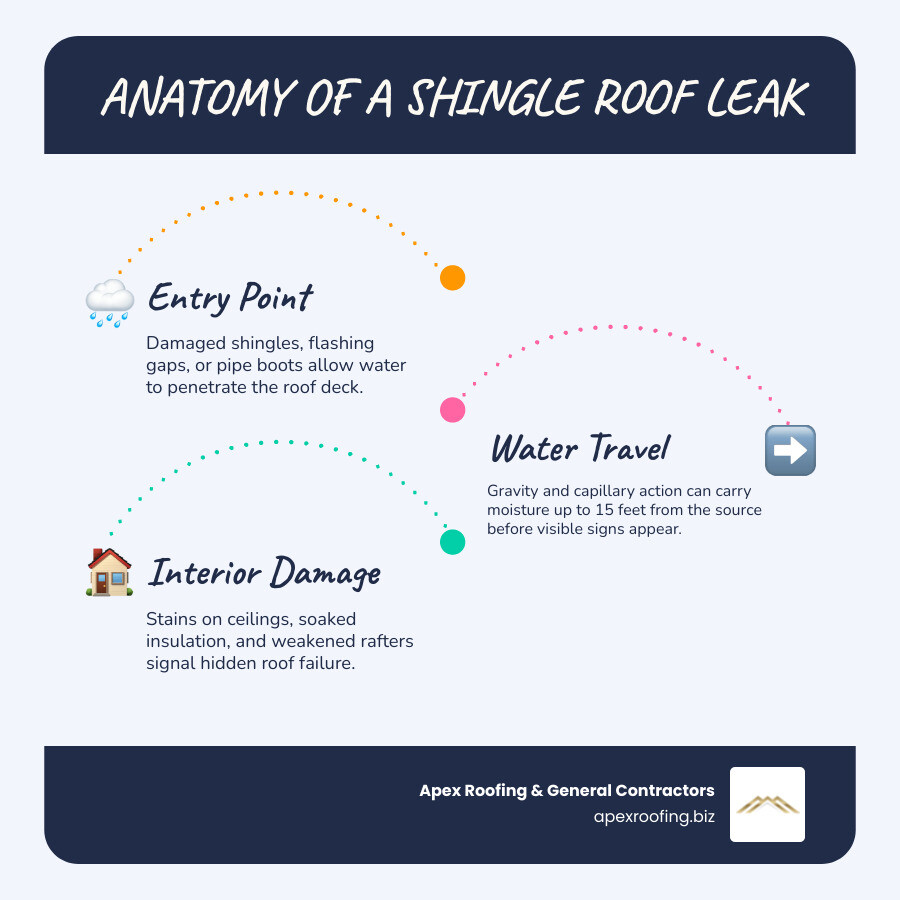
Here’s what makes leaks deceptive: water can travel up to 15 feet from the actual entry point before you ever see a stain on your ceiling. By the time you notice the drip, damage may already be spreading through your roof deck, insulation, and rafters.
The financial stakes are just as serious. A $500 repair ignored today can become a $5,000 structural problem within six months. That’s not a scare tactic — it’s the reality of what happens when water gets into wood framing and sits.
I’m Carlos Yzaguirre, President and Managing Partner of Apex Roofing & General Contractors, and I’ve led our San Antonio team through hundreds of shingle leak repair projects across Texas since co-founding Apex in 2022. In this guide, I’ll walk you through exactly how to find, fix, and prevent shingle leaks — step by step.
Simple shingle leak repair word guide:
Identifying the Source of a Shingle Leak Repair
Before you grab your hammer, you have to find the “where.” Many homeowners make the mistake of looking directly above the ceiling stain on the roof surface. However, because of the way roofs are constructed, water often hits the underlayment and runs down a rafter before finally dripping onto your drywall. This is why a thorough attic inspection is your best first step.
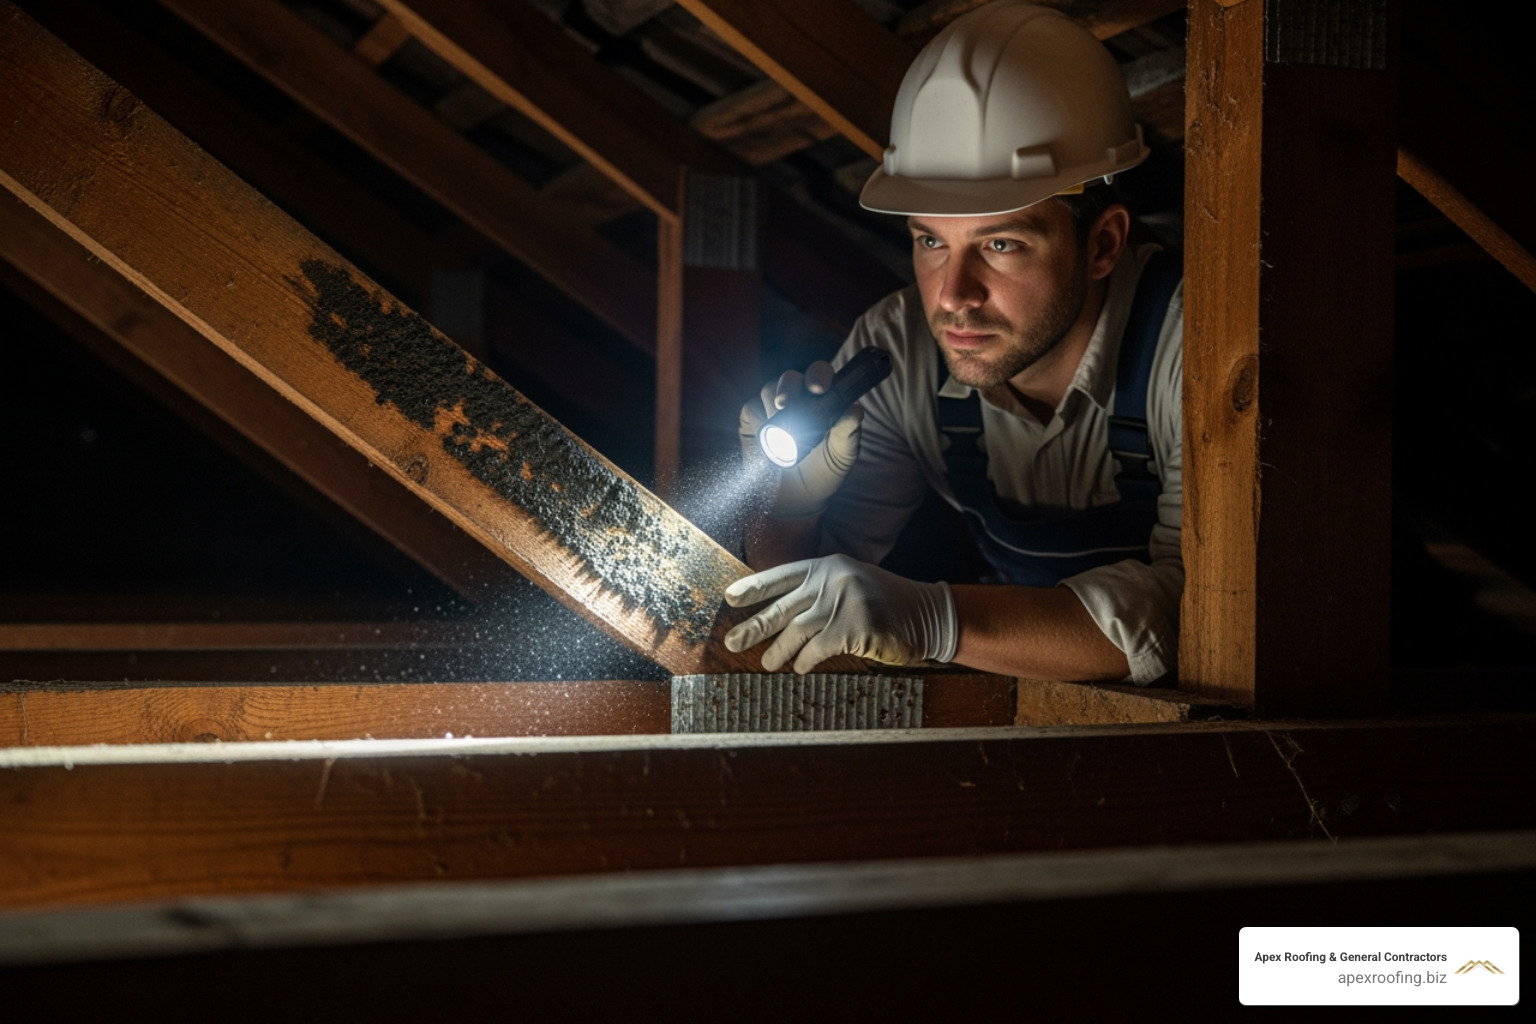
Wait for a sunny day or, if it’s currently raining, head into the attic with a high-powered flashlight. Look for water trails, damp insulation, or dark “tide marks” on the wooden rafters. If you find a wet spot, trace it upward toward the roof peak. Water follows gravity, so the entry point will always be higher than the interior damage. If you are struggling to find the origin, searching for Roof Leak Repair Near Me can connect you with professionals who use thermal imaging to find hidden moisture.
Locating Hidden Entry Points
Leaks are often found around roof penetrations—places where something “breaks” the surface of the shingles. This includes chimneys, dormers, and vent pipes. Capillary action can also pull water “uphill” or sideways under shingles if they are improperly staggered.
According to the DIY Guide for Leaky Asphalt Shingle Roofs, you should measure the distance from the leak to the nearest wall or ridge while in the attic. Transfer those measurements to the exterior roof surface to narrow down your search area to a few square feet.
The Garden Hose Test Method
If the attic is dry and you still can’t find the source, it’s time to simulate a San Antonio thunderstorm. This requires a two-person team. One person stays in the attic with a flashlight and a phone, while the other climbs onto the roof with a garden hose.
Start low. Apply water to the shingles just above the area where the leak appears inside. Move slowly, spending at least 5 minutes on each section before moving higher. When the person in the attic sees a drip, you’ve found your culprit. For more advice on how to handle these findings, check out our Roof Leak Repair Estimate Tips.
Common Causes of Asphalt Shingle Roof Failures
Understanding why shingles fail helps you spot trouble before the first drip hits your floor. In May 2026, we are seeing many roofs from the early 2010s reaching the end of their functional life.
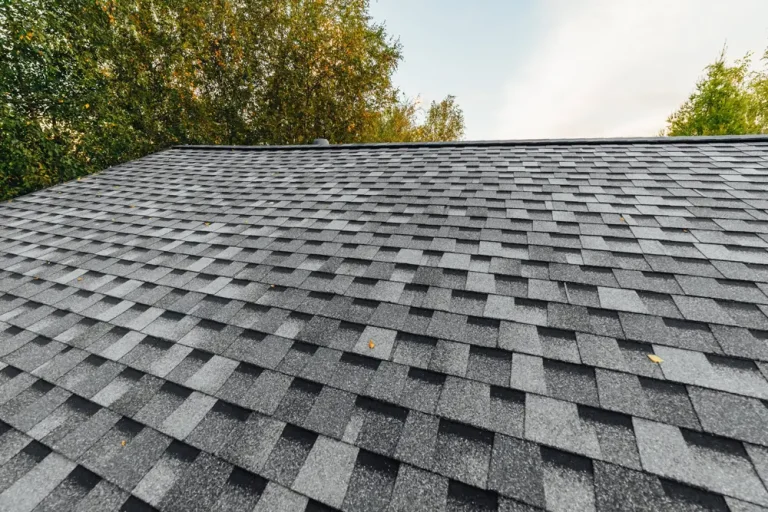
Asphalt shingles are designed to be flexible, but as they age, the oils in the asphalt evaporate. This leads to brittle shingles that crack or curl at the edges. Once a shingle curls, it becomes a “scoop” for wind-driven rain, pushing water directly under the protective layer. If you see significant granule loss (bald spots on the shingles), your roof’s UV protection is gone, and a Shingle Repair Ultimate Guide may be necessary to determine if a patch is enough.
Flashing and Pipe Boot Deterioration
In our experience at Apex Roofing, the shingle itself isn’t always the problem. Often, it’s the flashing—the metal or plastic bits that seal transitions.
- Pipe Boots: These rubber gaskets around plumbing stacks typically dry out and crack after 5–10 years, long before the shingles fail.
- Step Flashing: Found where the roof meets a wall, these can rust or pull away from the siding.
- Chimney Flashing: This is a high-risk area. If the mortar or sealant fails, water will pour down the side of the chimney into your living room.
According to San Antonio Roof Leak Restoration experts, flashing failure is the leading cause of “mystery” leaks that appear during heavy wind.
Environmental Factors and Debris
San Antonio weather can be brutal. High winds can cause blown shingle roof repair needs after a single storm. Additionally, clogged gutters are a major contributor to leaks. When water backs up in a gutter, it can seep under the “eave” shingles and rot the fascia board and roof deck. Tree branches rubbing against the roof act like sandpaper, stripping away the protective granules and leaving the asphalt mat exposed to the sun.
Step-by-Step Guide to Shingle Leak Repair
If you have identified a few damaged shingles and feel comfortable on a ladder, a DIY shingle leak repair is possible. However, safety must be your absolute priority. Over 100 people die annually from ladder accidents in the U.S., so always work with a spotter and use a safety harness if the pitch is steep.
Tools Needed for Shingle Leak Repair
Don’t start until you have these items on hand:
- Flat Pry Bar: To lift shingles and pull nails.
- Hammer: For securing new galvanized roofing nails.
- Utility Knife: To trim shingles or round corners for easier installation.
- Roofing Cement & Putty Knife: To seal joints and nail heads.
- Replacement Shingles: Match your current brand and color as closely as possible.
- Galvanized Roofing Nails: 1.25-inch nails are standard.
If you are dealing with more than just a surface crack, you might need to learn how to repair a hole in a shingle roof which involves replacing the wooden decking.
Removing and Replacing Damaged Shingles
- Break the Seal: Carefully slide your pry bar under the damaged shingle to break the adhesive strip. You will also need to do this for the shingle directly above it, as its nails pass through the top of the damaged one.
- Remove Nails: Locate the four to six nails holding the damaged shingle. Slide the pry bar under the shingle, center it over the nail, and pop it up.
- Slide Out the Old Shingle: Once all fasteners are removed, the damaged piece should slide right out.
- Prepare the New Shingle: Some pros recommend rounding the back corners of the new shingle with a utility knife to help it slide into the “slot” more easily.
- Nail and Seal: Slide the new shingle into place. Align it with the existing rows. Drive four new nails into the “nailing strip” area. Finally, apply a small dab of roofing cement over each nail head and press the overlapping shingle back down into the adhesive.
For a deeper dive into these techniques, see our guide on Mastering the Art of Single Shingle Replacement.
When to DIY vs. Calling a Professional Roofer
We love a good weekend project, but shingle leak repair carries risks that painting a room does not. If your roof has a “4/12” pitch (a shallow slope) and the damage is localized to one area, DIY is a viable option. However, if your roof is steep, two stories high, or you have multiple leaks, it’s time to call in the pros.
Risks of Improper DIY Repairs
The biggest risk of DIY work isn’t just falling—it’s voiding your warranty. Many shingle manufacturers, like GAF, require certified installation for their warranties to remain valid. If you use the wrong nails, or drive them too deep, you could cause more leaks than you fix. Furthermore, “patching” a leak without addressing the underlying rot in the roof deck is like putting a band-aid on a broken leg. You might stop the visible drip, but the wood will continue to decay, leading to structural sagging.
Our Roof Leak Repair Estimate Complete Guide breaks down how to evaluate whether a professional is worth the investment.
Benefits of Certified Contractor Services
When you hire a professional for shingle roof repair, you aren’t just paying for labor; you’re paying for a guarantee. Certified contractors in San Antonio are familiar with local building codes and the specific challenges of our climate (like high heat and sudden hailstorms). We can spot secondary issues—like poor attic ventilation—that might be causing your shingles to fail prematurely.
| Feature | DIY Repair | Professional Service |
|---|---|---|
| Average Cost | $50 – $120 (Materials) | $350 – $1,200 |
| Time Investment | 4 – 8 Hours | 1 – 2 Hours |
| Warranty | None (May void existing) | Labor & Material Warranties |
| Safety Risk | High (Ladder/Fall risk) | None (Insured professionals) |
| Reliability | Variable | High (Certified standards) |
Cost and Prevention of Future Roof Leaks
Money is always a factor in home maintenance. As of May 2026, the national average for a professional shingle leak repair is approximately $750. Minor jobs, like replacing a single pipe boot or a few shingles, usually range from $350 to $500. More complex issues involving valleys or chimney flashing can climb toward $1,200.
If you’re curious about the specific breakdown of these fees, check out our article on the Cost to Fix Roof Shingles.
Preventing Future Shingle Leak Repair Issues
The best repair is the one you never have to make. We recommend a “Bi-Annual Roof Checkup”—once in the spring and once in the fall.
- Clean Your Gutters: Ensure water flows freely away from the house.
- Trim the Trees: Keep branches at least 6 feet away from your roofline.
- Check the Attic: Look for light peeking through the roof deck (a sign of a hole) or musty odors.
- Visual Ground Inspection: Use binoculars to look for “shiny” spots (exposed asphalt) or lifted shingle tabs after high winds.
Homeowners Insurance and Leak Coverage
Does insurance cover shingle leak repair? The answer is: sometimes. Insurance is designed to cover “sudden and accidental” damage. If a tree falls on your roof or a hailstorm shreds your shingles, you are likely covered. However, if the leak is caused by the fact that your roof is 25 years old and you haven’t cleaned the gutters in a decade, your claim will likely be denied due to “wear and tear” or “lack of maintenance.” Always document damage with photos immediately after a storm to support your claim.
Frequently Asked Questions about Shingle Leak Repair
Does homeowners insurance usually cover shingle roof leak repairs?
Insurance typically covers leaks caused by sudden, accidental events like hail or fallen trees, but it rarely covers leaks resulting from age, lack of maintenance, or normal wear and tear. If you’re unsure, have a professional roofer inspect the damage first; we can often tell if the damage is storm-related.
How much does a typical shingle roof leak repair cost in 2026?
Nationally, homeowners pay an average of $750 for professional repairs, with most minor to moderate jobs falling between $350 and $1,200 depending on the complexity and location. In San Antonio, prices are generally consistent with these national averages.
Can I repair a single shingle without replacing the whole roof?
Yes, localized repairs are common and effective if the surrounding shingles are in good condition. However, if more than 35-50% of the roof is damaged, or if the shingles are so brittle they crack when you try to lift them, a full replacement is often more cost-effective in the long run.
Conclusion
A leaking roof is a ticking clock. Every hour you wait is another hour that moisture is compromising your home’s structure. Whether you choose to tackle a DIY shingle leak repair or hire a professional, the most important thing is to take action today.
At Apex Roofing & General Contractors, we’ve built our reputation in San Antonio, Texas, on transparent communication and reliable, certified service. We understand the local climate and the stress that a roof leak causes. Don’t let a small drip turn into a major disaster.
If you suspect your roof has reached its limit or you’ve spotted a stain on your ceiling, contact us for a professional inspection. We provide expert Roof Leak Repair services designed to last.
Ready to protect your home? Visit our San Antonio location page to schedule your free estimate today, or call us at (726) 727-7663 for a free inspection.