Why Every San Antonio Homeowner Should Know How to Repair a Hole in a Shingle Roof
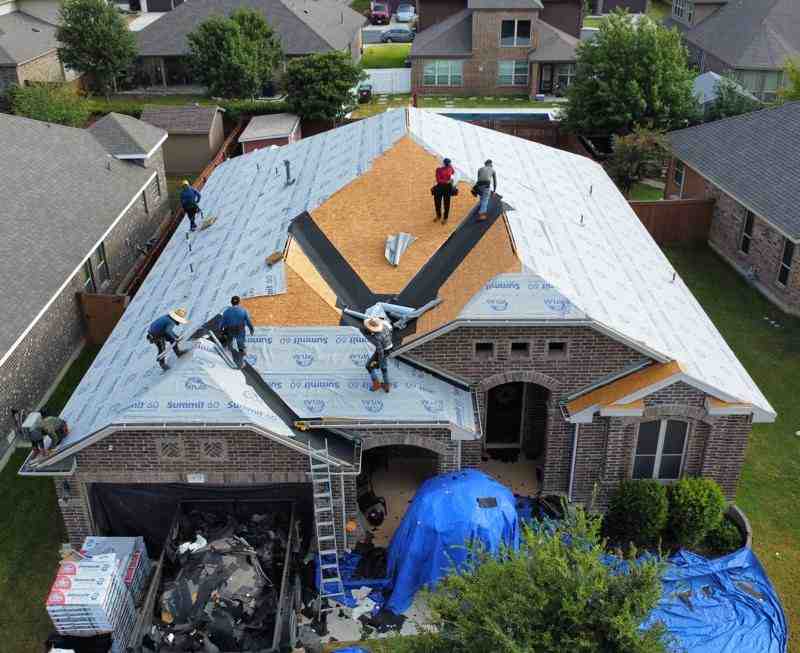
Learning how to repair a hole in a shingle roof is a valuable skill for any homeowner. A hole from a fallen branch, old satellite dish, or simple wear can quickly lead to water damage, pests, and costly structural issues. While many homeowners can patch a single hole for $100-$200, a professional residential roof repair typically costs between $300 and $1,000. If you’d rather have an expert assess the damage, our San Antonio roofing contractors can evaluate your roof and recommend the right fix. Ignoring the problem guarantees it will worsen, leading to leaks, mold, and rotted decking.
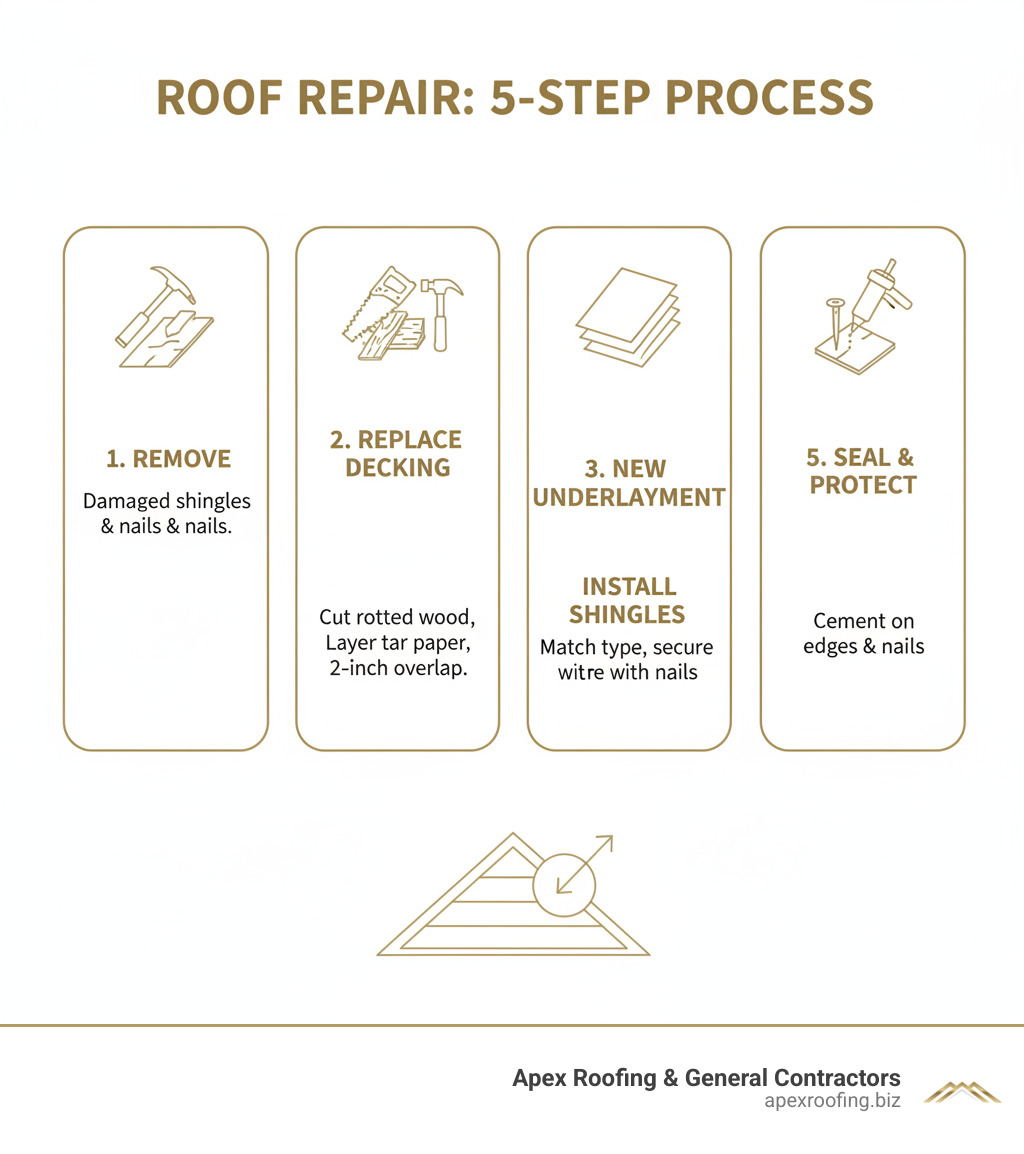
The repair process involves five essential steps:
- Remove Damaged Materials: Use a pry bar to lift surrounding shingles, extract all nails, and cut away compromised underlayment.
- Repair the Decking: Cut out any rotted plywood and install 2×4 braces secured to the rafters for support.
- Install New Underlayment: Slide new tar paper under the existing layer with a minimum 2-inch overlap to ensure water flows over the patch.
- Install Replacement Shingles: Nail new, matching shingles securely, working from the bottom up.
- Seal the Repair: Apply roofing cement over nail heads and along shingle edges for a watertight finish.
Regular roof inspections, at least twice a year, help you catch these issues early. As Carlos Yzaguirre, President of Apex Roofing & General Contractors, I’ve seen how proper technique and safety make all the difference. This guide will walk you through each step, helping you decide whether to tackle the job yourself or when professional help is your best option.
Preparation and Safety: What to Do Before You Climb the Ladder
Proper preparation is the foundation of a successful roof repair. How to repair a hole in a shingle roof begins not on the roof, but on the ground with a clear plan, the right supplies, and an unwavering commitment to safety. A well-executed repair is 80% preparation and 20% execution.
Safety First: Your Top Priority
Working on a roof is inherently dangerous. Your personal safety must always be the top priority. Never attempt a repair in rain, wind, or extreme heat, as these conditions make shingles slippery, brittle, or too soft. Always work on a dry, mild day.
- Ladder: Place your ladder on solid, level ground, extending it at least three feet above the roof edge. Test its stability before climbing.
- Footwear: Wear heavy, rubber-soled, non-slip shoes. Do not wear sneakers or boots with smooth soles.
- Protective Gear: Use sturdy gloves to protect your hands and safety glasses to shield your eyes from debris.
- Safety Harness: For any roof with a pitch steeper than 6:12, a safety harness anchored to a sturdy point is essential.
- Spotter: Always have a spotter on the ground to assist with tools and call for help if needed.
If you are uncomfortable with heights or lack the proper safety equipment, call a professional. No repair is worth risking your life.

What Tools and Materials Are Needed for How to Repair a Hole in a Shingle Roof?
Gather all your tools and materials before you begin to avoid multiple trips up and down the ladder.
- Tools: Pry bar, claw hammer, utility knife, caulk gun, measuring tape, marker, and a circular or reciprocating saw if replacing decking.
- Safety Gear: Sturdy ladder, non-slip shoes, gloves, safety glasses, and a safety harness for steep roofs.
- Materials: Replacement shingles (matching style and color), plywood sheathing (matching thickness), 2×4 lumber for braces, hot-dipped galvanized roofing nails (1 3/4″ for shingles, 8- and 10-penny for wood), roofing cement, and 30# tar paper (felt underlayment).
Locating the Exact Source of the Leak
Water often travels along rafters and pipes, meaning an interior stain may be far from the actual leak. Finding the hole requires detective work, starting in your attic.
- Inspect the Attic: On a sunny day, go into your attic with a flashlight. Look for water stains, mold, or wet spots on the underside of the roof decking. Trace any moisture upward to its highest point, which is likely the entry point. Pay close attention to areas around vents, chimneys, and pipes.
- Use the Magnet Trick: Tape a strong rare-earth magnet to the underside of the decking at the highest point of the water stain. On the roof, use a compass; the needle will react when you pass over the magnet, pinpointing the exterior location.
- Measure from the Inside: As an alternative, measure the leak’s location from a fixed point inside (like a chimney or wall), then replicate those measurements on the roof’s exterior.
Accurately locating the damage is crucial for an effective repair. For more tips, see our Shingle Repair Ultimate Guide.
A Step-by-Step Guide on How to Repair a Hole in a Shingle Roof
With the hole located and your tools ready, you can begin the repair. Follow these steps methodically for a durable, weatherproof patch.
Step 1: Remove Damaged Shingles and Underlayment
The first step in how to repair a hole in a shingle roof is careful removal. Work from the top down, starting with the shingles above the damaged area.
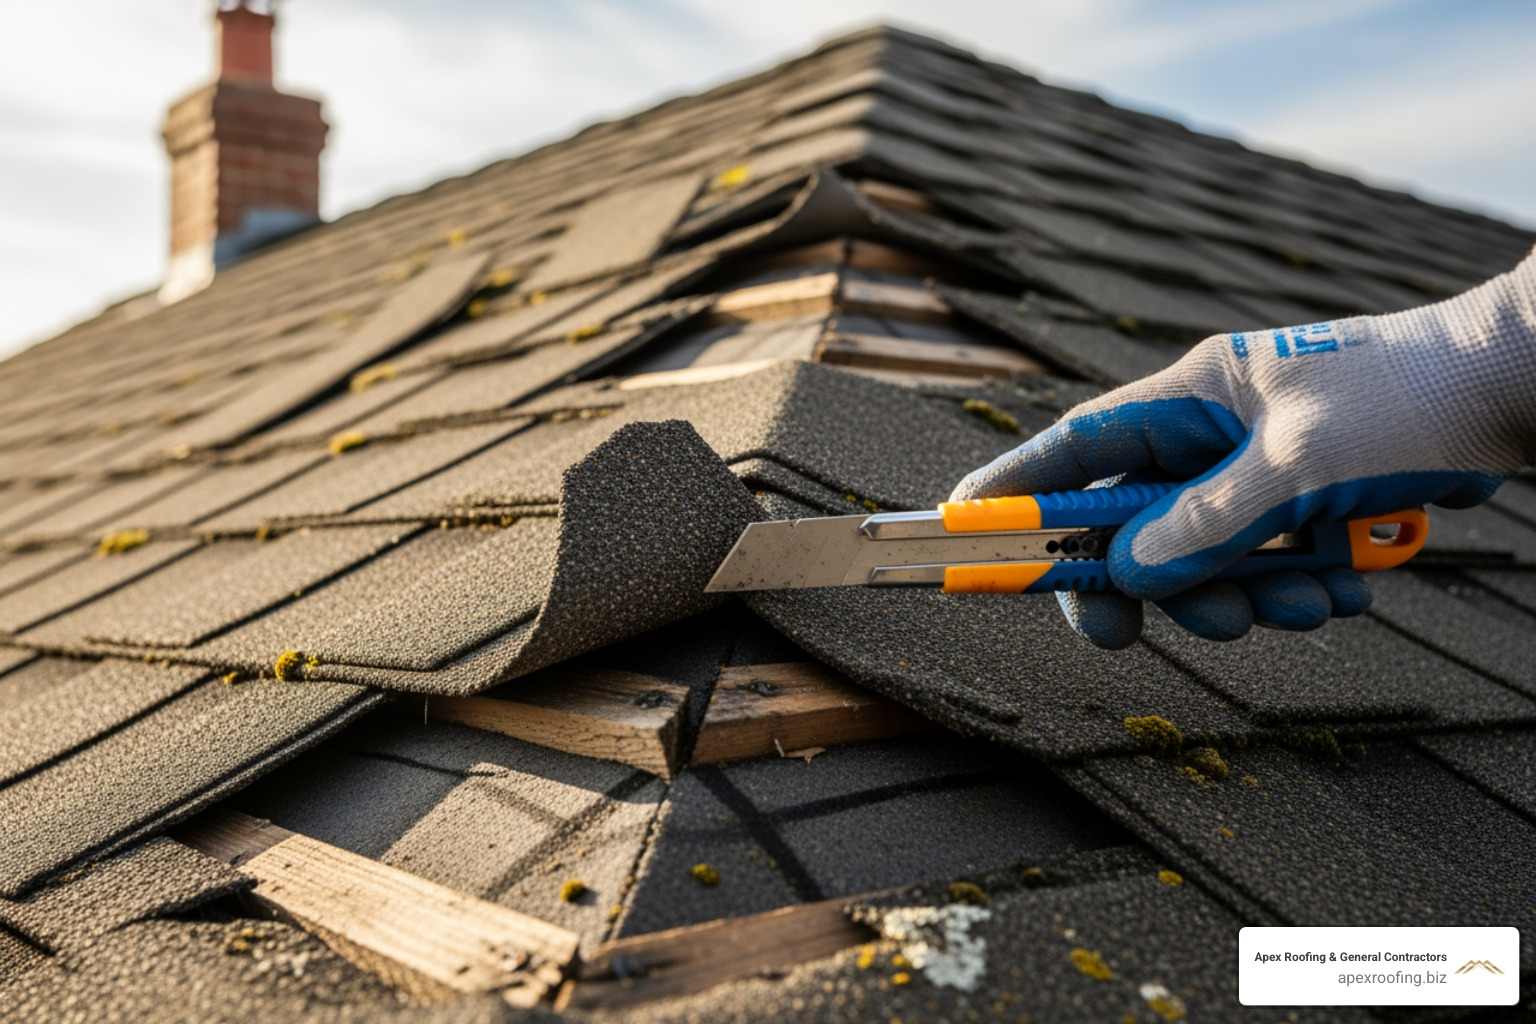
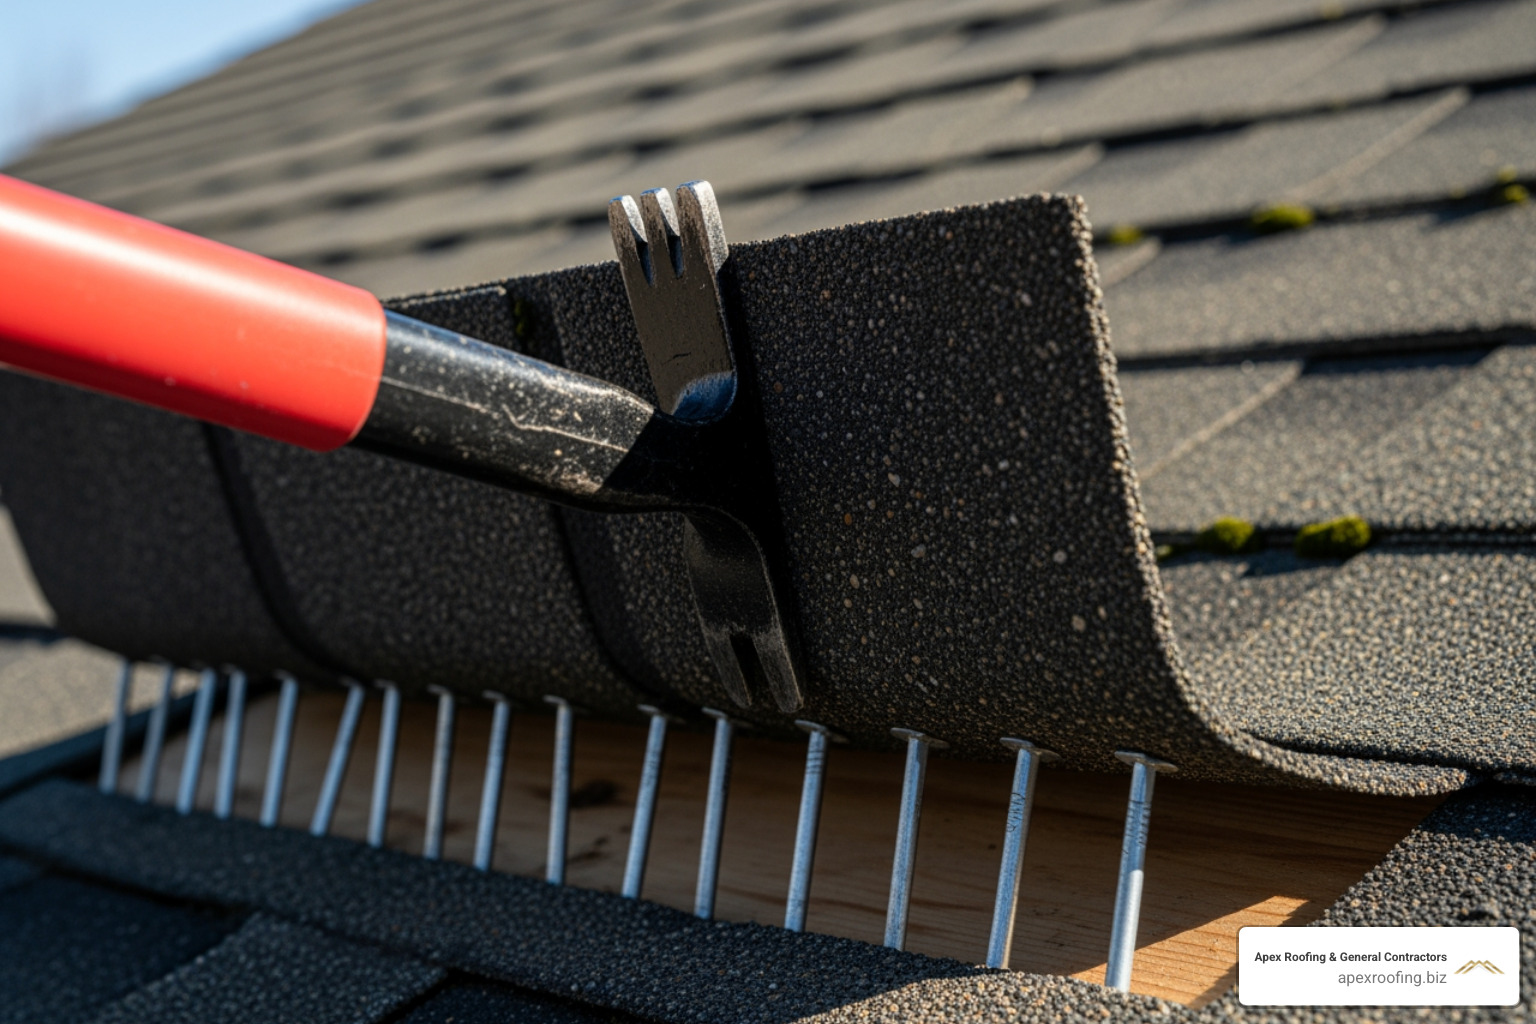
Use a pry bar to gently break the adhesive seal on the shingles you need to lift. On cold days, a heat gun can soften the adhesive and prevent cracking. Once a shingle is lifted, use the pry bar or a claw hammer to extract all roofing nails. If a nail is stuck, you can go into the attic and tap it up from below with a hammer and nail punch. After removing all nails, slide out the damaged shingle. If the tar paper underlayment is also damaged, use a utility knife to cut away the compromised section with clean, straight cuts.
Step 2: Repair the Roof Decking and Framing
Inspect the exposed plywood decking. If it’s soft, spongy, or rotted, it must be replaced. Measure the thickness of your existing decking to ensure the replacement piece will be flush.
Draw a square around the damaged wood and carefully cut it out with a circular saw, setting the blade depth to match the decking thickness to avoid cutting the rafters below. Measure the opening and cut a new piece of plywood to fit. This patch needs support, so cut 2×4 lumber to create braces that attach to the solid rafters underneath. Secure these braces with 10-penny nails. Apply liquid nails to the top of the braces, press the plywood patch into place, and secure it with 8-penny nails.
Step 3: Install New Underlayment
The underlayment is a critical moisture barrier. Cut a piece of new 30# tar paper that is large enough to cover the repair and overlap the existing underlayment. The new paper must slide under the existing tar paper at the upper edge and overlap the sides and bottom by at least 2 inches. This ensures water flows over the patch, not under it. The stiffer 30# paper is easier to work with than 15# felt. Secure the new underlayment with just enough roofing nails to hold it in place.
Step 4: Install New Shingles
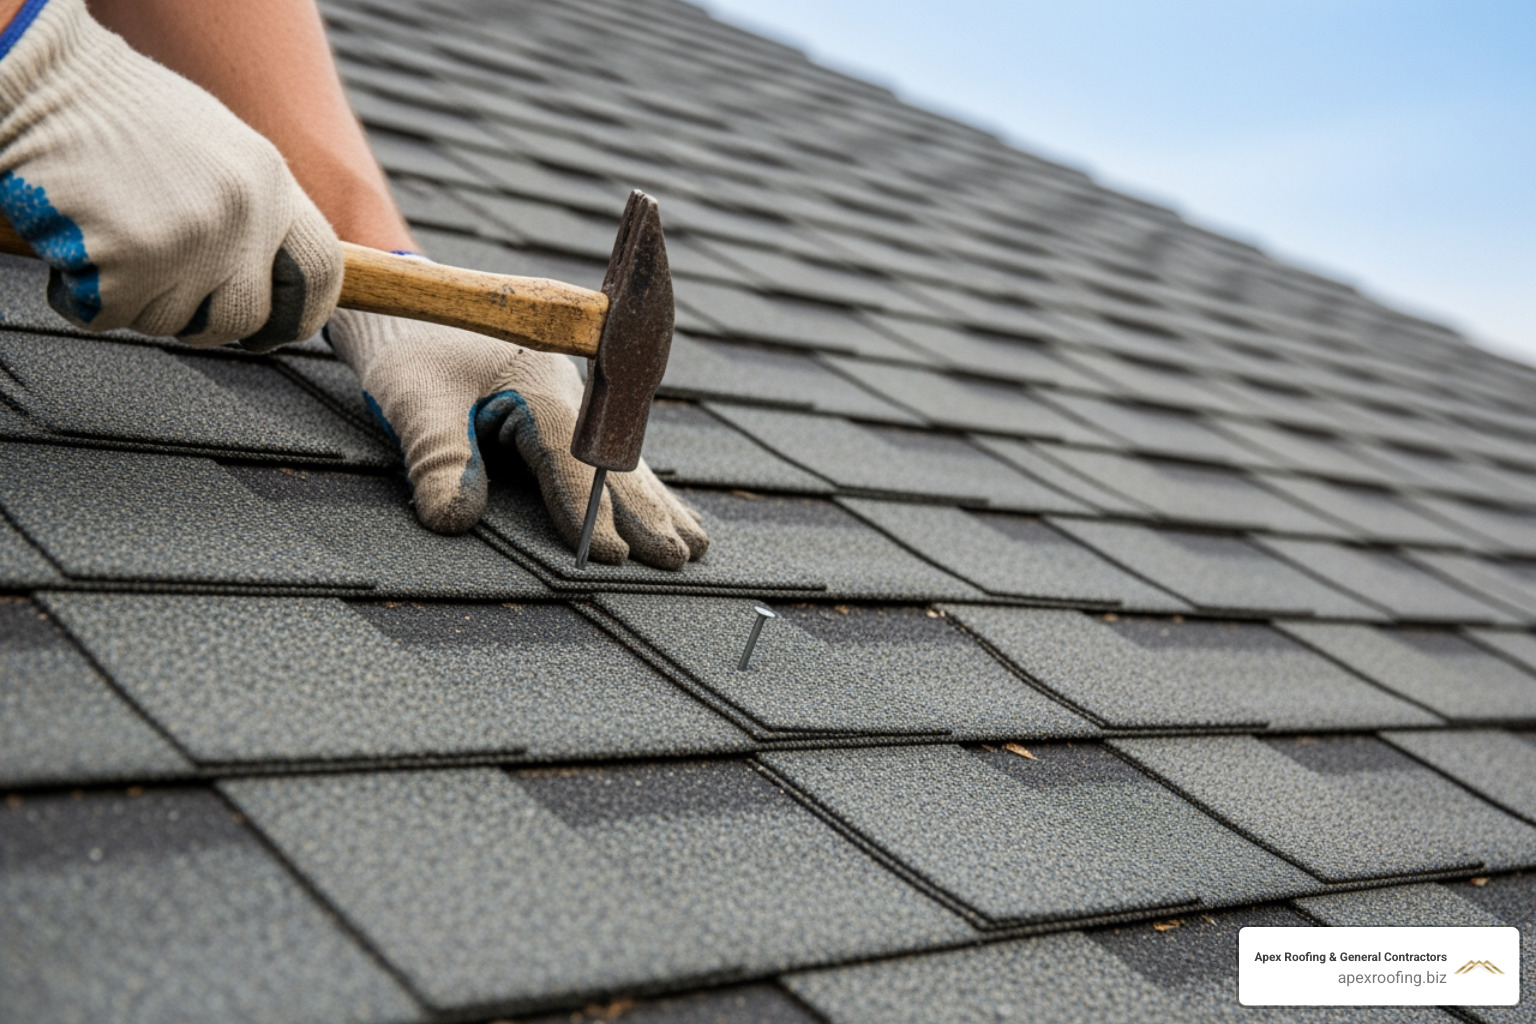
Now, install the new shingles, starting from the bottom of the repair and working up. Slide the first shingle into place, aligning it with the surrounding course. The nailing pattern is crucial: use four roofing nails per shingle, placed about 5 5/8 inches from the bottom edge. Position the nails so they will be completely covered by the shingle in the course above. This overlapping technique is what makes a shingle roof watertight. Continue installing each course, maintaining the staggered pattern of the surrounding roof. For more on proper installation, see our Asphalt Shingles Installation guide.
Step 5: Final Steps for How to Repair a Hole in a Shingle Roof
The final step is to seal the repair. Use a caulk gun to apply roofing cement over every exposed nail head on the new shingles. Next, lift the tabs of the new shingles and apply a thin bead of cement underneath, especially where new shingles meet old ones. Press the tabs down firmly to create a wind and water-resistant bond. Inspect the entire area for any gaps or lifted edges, applying more cement as needed. Finally, clean all debris from the roof and yard. Allow the cement to cure for 24 hours in dry weather.
When to Call a Professional Roofer Instead of DIY
While fixing a single hole can be a rewarding DIY project, it’s crucial to recognize when a situation requires professional expertise. Smart homeownership means knowing your limits to protect your safety and your investment.
Signs You Need a Professional
Certain red flags indicate a problem is beyond a simple DIY patch. Calling a professional early can save you from costly mistakes and further damage. You should call a pro if you see:
- Extensive Damage: Multiple holes, widespread missing shingles, or a large compromised area.
- Structural Issues: A sagging roof deck, visible dips, or soft spots underfoot.
- Steep Roof Pitch: Working on a steep roof is extremely dangerous without professional training and safety equipment.
- Safety Concerns: If you are uncomfortable with heights or lack a proper ladder and safety harness.
- Uncertainty: If you are unsure about any step of the repair process, it’s best to avoid causing more damage.
- Old or Deteriorated Roof: Patching an old roof may be a temporary fix for a larger, systemic problem.
- Interior Water Damage: Stains on ceilings or walls suggest a persistent leak that may have caused hidden damage.
- Warranty Concerns: DIY repairs can void existing manufacturer or workmanship warranties.
If you’re facing a serious leak in the San Antonio area, our team offers prompt service. Find out more about Roof Leak Repair Near Me.
Benefits of Hiring a Certified Roofer
When a repair is too complex for DIY, a certified roofer provides invaluable benefits and peace of mind.
- Warranty and Insurance: Professionals provide warranties on their workmanship and carry liability insurance, protecting you from financial risk in case of accidents or property damage.
- Code Compliance: Certified roofers understand and adhere to local building codes in areas like San Antonio and Bexar County, ensuring your repair is done correctly and passes inspection.
- Proper Tools and Materials: Professionals use specialized equipment and high-quality materials best suited for your roof and the local climate.
- Safety Protocols: Reputable contractors have established safety procedures and equipment to protect their crew and your property.
- Efficiency and Expertise: An experienced roofer can diagnose and fix the problem quickly and correctly the first time, understanding the nuances of water flow and proper sealing.
- Guaranteed Workmanship: A professional company stands behind its work, giving you confidence that the repair will last.
Choosing the right contractor is key. For guidance, read our post on How do I choose a roofing contractor in San Antonio?.
Preventing Future Roof Damage
Proactive maintenance is the most effective way to prevent future holes and extend the life of your roof. Regular inspections, at least twice a year, help you identify and address small issues before they become major emergencies.
Routine Maintenance Checklist
Keep your roof in top condition by performing these routine checks, especially in the spring and fall.
- Inspect Shingles: Look for any cracked, curled, damaged, or missing shingles. Also, check for significant granule loss in your gutters, as this indicates shingles are becoming vulnerable to UV damage.
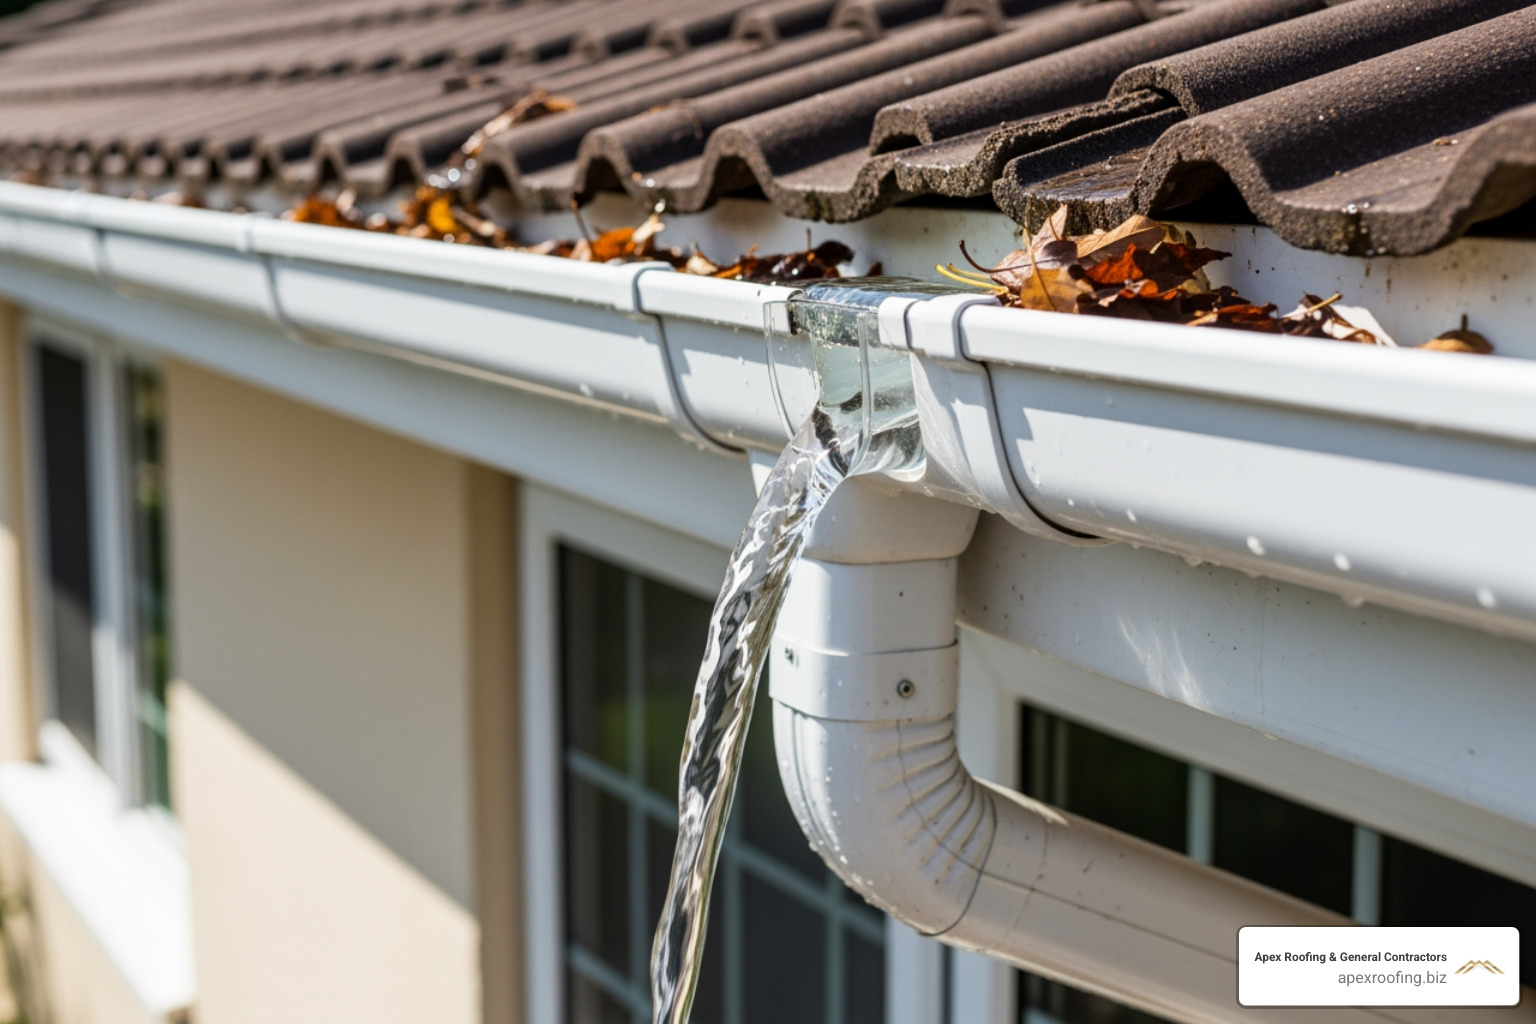
- Clean Gutters: Clogged gutters cause water to back up under shingles, leading to rot. Clear leaves and debris from gutters and downspouts regularly.
- Trim Tree Branches: Cut back any branches that are rubbing against or hanging over your roof. We recommend keeping a clearance of at least 6 to 10 feet to prevent friction damage and impact from falling limbs during storms.
- Check Flashing: Examine the metal flashing around chimneys, vents, and skylights. Look for corrosion, lifted edges, or cracked sealant, as these are common leak points.
- Address Small Issues Immediately: Use roofing cement to seal small cracks or re-adhere lifting shingle edges promptly. A minor fix now can prevent a major repair later.
Seasonal Preparedness
Each season presents unique challenges for your roof. Staying prepared helps you mitigate potential damage.
- Summer: Intense sun and heat can cause shingles to blister and crack. Ensure your attic has adequate ventilation to prevent heat buildup from prematurely aging your roof.
- Winter: In colder areas like Fair Oaks Ranch, freezing rain can lead to ice dams. These ridges of ice at the roof’s edge force water back under shingles. Proper attic insulation and ventilation are the best ways to prevent ice dams.
- After Storms: Following any major weather event like a hailstorm or high winds, visually inspect your roof for missing shingles, dents, or debris. Hail can cause hidden granule loss that compromises your shingles’ integrity and shortens their lifespan.
Frequently Asked Questions about Shingle Roof Repair
Homeowners often have similar questions about how to repair a hole in a shingle roof. Here are answers to the most common concerns.
What are the most common causes of holes in a shingle roof?
The most common causes of holes in shingle roofs are impact from falling tree limbs, hail damage, and punctures from foot traffic. Holes also frequently form where fixtures like vents or satellite dishes were installed, as the sealant around them can deteriorate. Over time, aging shingles become brittle from sun exposure and can crack or break, creating openings for water.
How can I ensure my roof repair is watertight?
A watertight repair is achieved through three key actions: proper layering, correct nailing, and thorough sealing. First, the new underlayment (tar paper) must be layered correctly, sliding under the existing material above it to shed water. Second, use the correct nailing patternfour nails per shingle, placed so they are completely covered by the shingle in the course above. Finally, seal all new work with roofing cement, applying it under shingle tabs and over any exposed nail heads for a final, durable seal.
Is it cheaper to repair a roof or replace it?
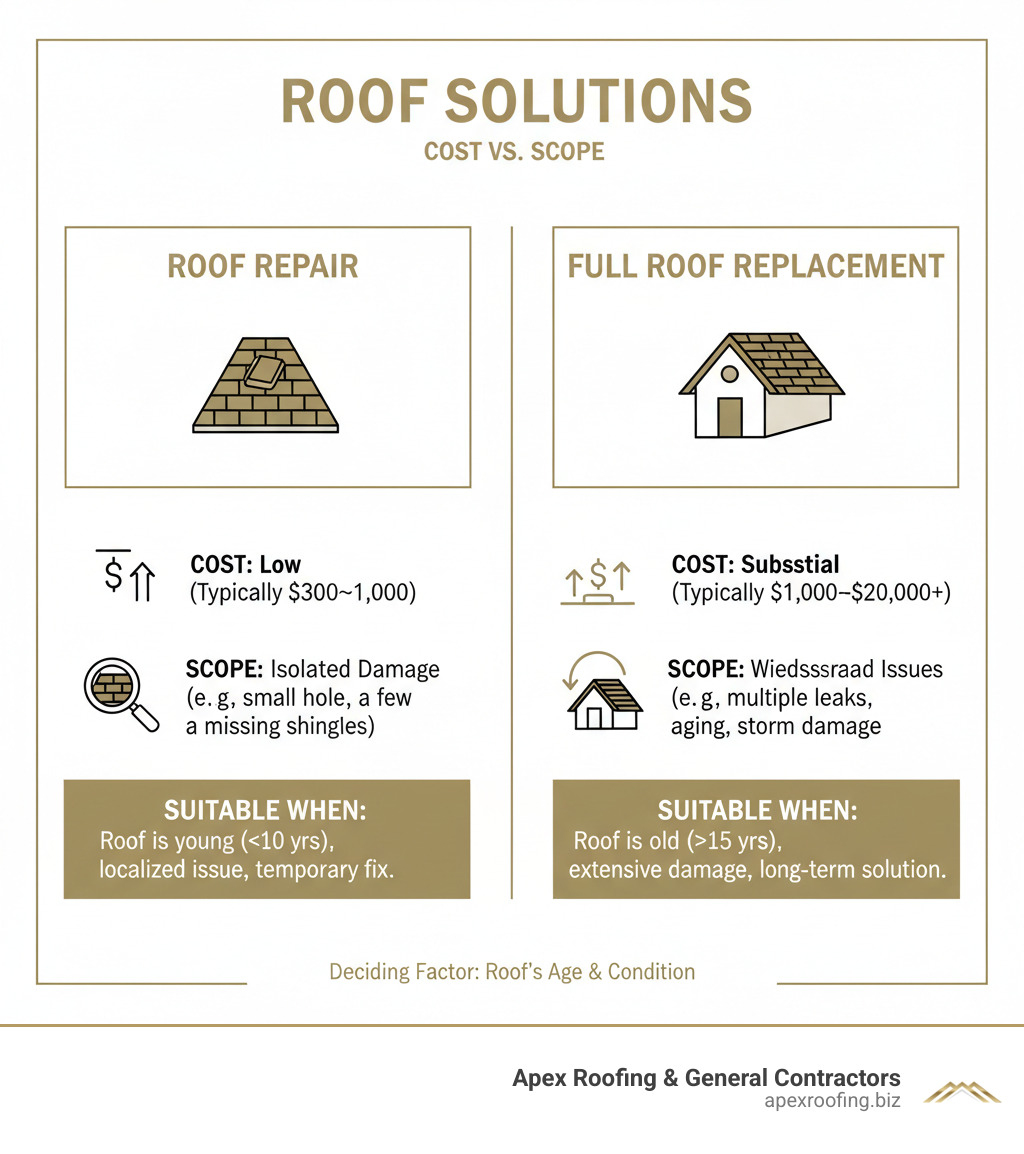
Repairing a single hole or a small area of damage is significantly cheaper than a full replacement. A DIY repair may cost $100-$200, while a professional repair typically runs $300-$1,000. However, replacement is the more cost-effective option for older roofs (over 20 years) with widespread damage, such as multiple leaks or extensive cracking. Continuously patching an aging roof often costs more in the long run than a single full roof replacement, which provides comprehensive protection and a new warranty.
Your Partner for a Secure and Reliable Roof
Knowing how to repair a hole in a shingle roof is a valuable skill, but a successful repair demands safety, the right tools, and an honest assessment of the job’s complexity. While a small patch can be a satisfying DIY project, it’s crucial to know when to call for professional help.
If the damage is extensive, the roof is steep, or you feel uncertain at any point, calling a professional is the smartest choice. A poorly executed repair can lead to far greater costs down the road. At Apex Roofing & General Contractors, we provide certified, reliable service to homeowners throughout San Antonio, Helotes, Leon Valley, and the surrounding Bexar County area. We understand the challenges of the Texas climate and ensure every repair complies with local building codes.
Choosing a professional gives you the peace of mind that comes with warranty protection, liability insurance, and guaranteed workmanship. If you need an expert evaluation of your roof damage, our team is ready to provide a clear assessment and a solution that fits your needs and budget.
Ready to secure your roof? We offer free estimates to help you understand your options. Call us today at (726) 727-7663 to schedule a free inspection with our expert team. Let us ensure your home is protected by a strong, reliable roof.


