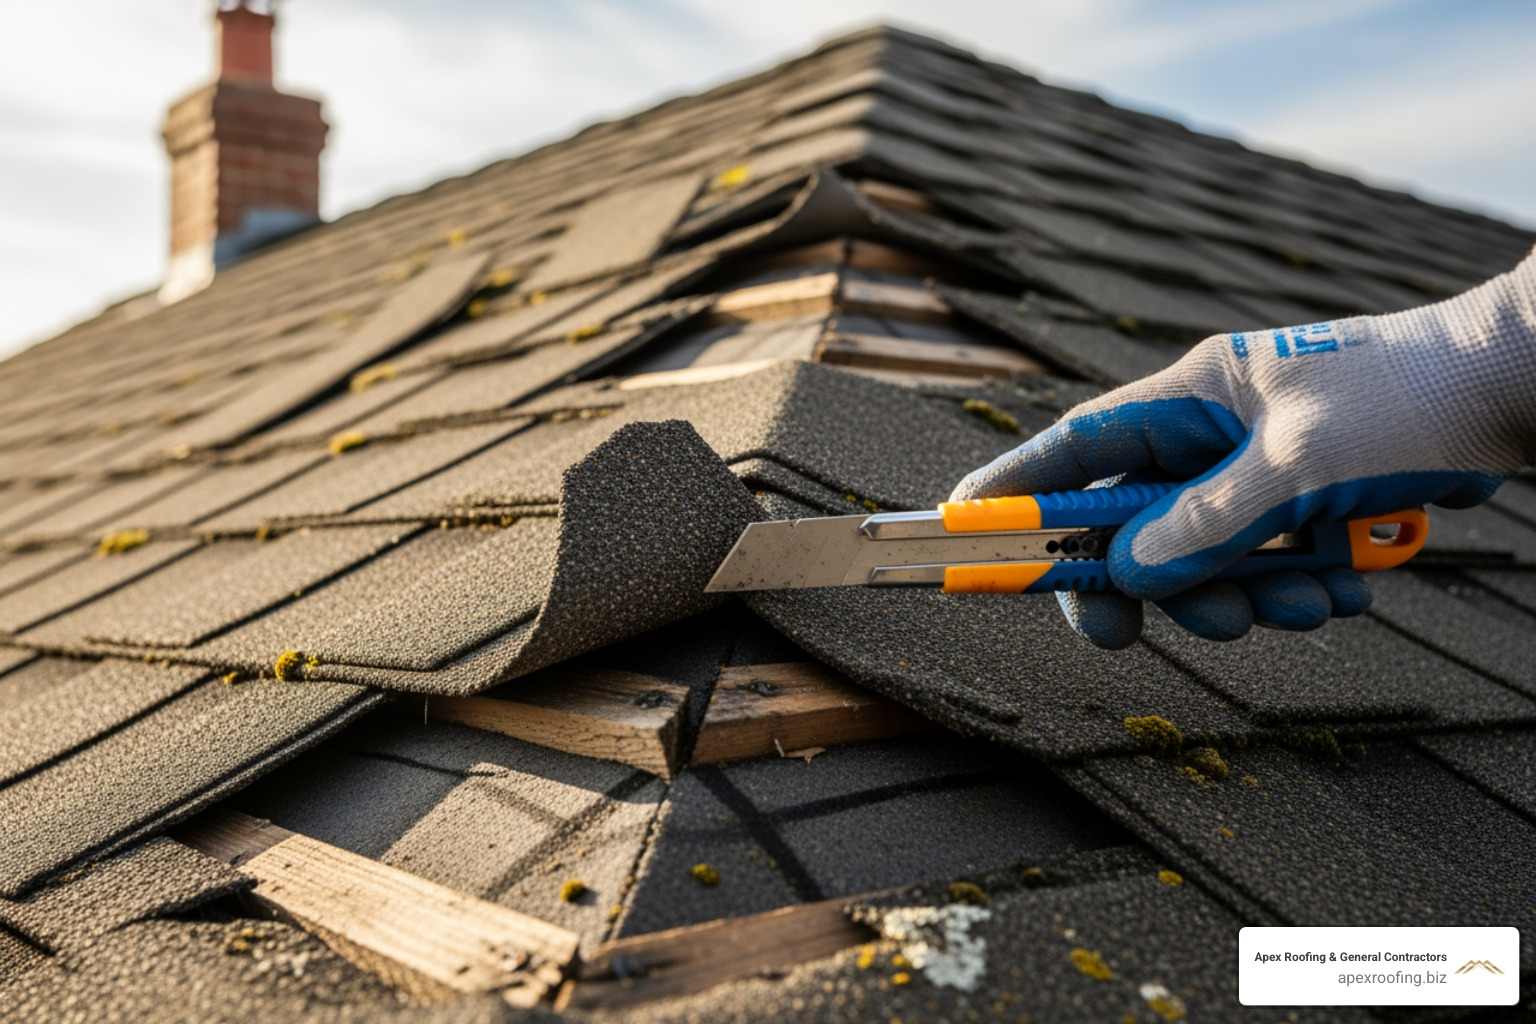
Why Cracked tile repair Matters for Your Home
Cracked tile repair is a common home maintenance task that can save you hundreds of dollars compared to full tile replacement. Here’s what you need to know:
Quick Fix Options:
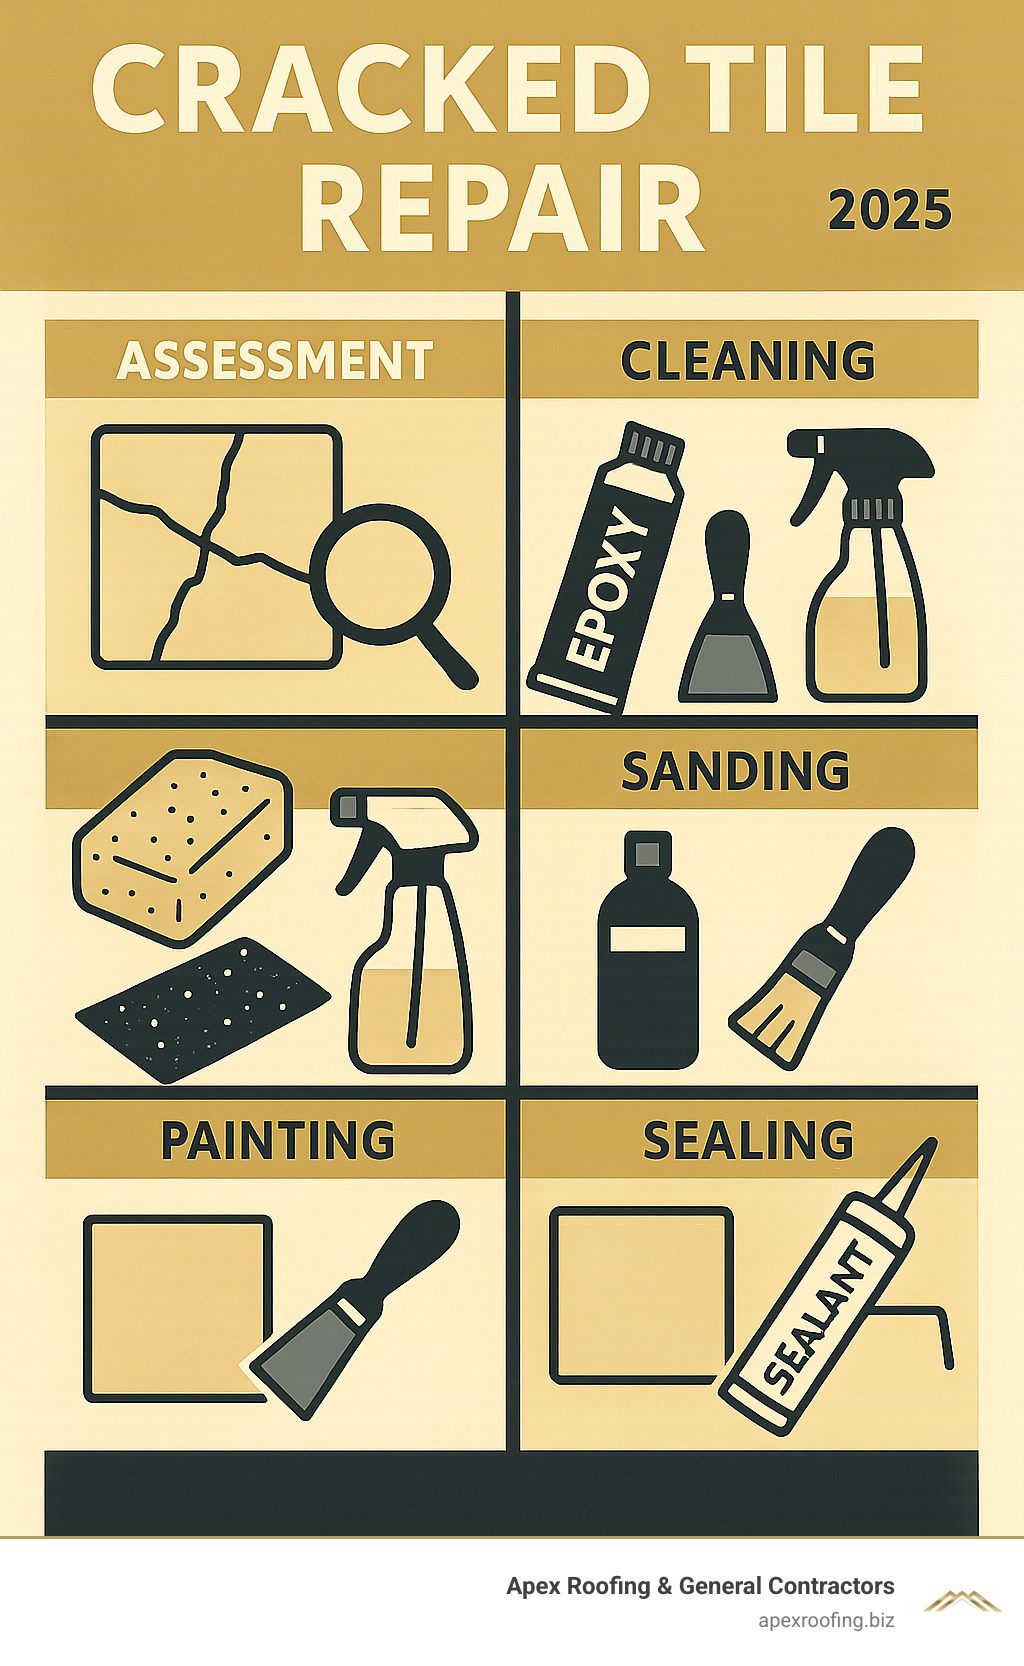
- Hairline cracks: Clean, apply epoxy, sand, paint, and seal
- Small chips: Fill with epoxy, build up layers, sand smooth
- Missing pieces: Use tile repair adhesive and color matching
When to Act Fast:
- Water can seep through cracks causing subfloor damage
- Cracks spread over time if left untreated
- Small repairs cost $20-50 vs. $100-400 for professional replacement
That cracked tile in your bathroom or kitchen might seem like a minor annoyance, but ignoring it can lead to bigger headaches down the road. Water seepage, spreading cracks, and expensive subfloor damage are all real risks when damaged tiles go unrepaired.
The good news? Most tile damage is surprisingly fixable with basic tools and materials. Whether you’re dealing with a hairline crack from dropping something heavy or chips from normal wear and tear, the right approach can restore your tiles to look nearly new again.
For San Antonio homeowners dealing with tile issues alongside other home maintenance needs, working with experienced general contractors ensures all your repairs are handled professionally and efficiently.
As Carlos Yzaguirre, President of Apex Roofing & General Contractors, I’ve helped countless homeowners tackle everything from minor tile fixes to major home repairs throughout the San Antonio area. While our specialty is roofing, cracked tile repair is one of those essential home maintenance skills that can prevent costly water damage – something we see all too often when small problems are ignored.
Understanding Why Tiles Crack and When to Worry
Tiles are incredibly durable, chosen for their hardness in high-traffic areas like kitchens and bathrooms. However, this very hardness makes them brittle and vulnerable to cracking. We’ve all been there – a dropped pot, a shifting foundation, or even just the passage of time can leave a tile looking less than perfect. But why exactly do these cracks appear, and when should we start to worry?
Common causes of cracked tiles include:
- Heavy Impact: This is often the most obvious culprit. Dropping a heavy object, like a cast-iron pan or a tool, directly onto a tile can cause it to crack or chip. Accidents happen, and sometimes, it’s just bad luck!
- Improper Installation: This is a major underlying issue. If the subfloor wasn’t properly prepared, or if the wrong adhesive was used, tiles can crack due to movement or insufficient bonding. For instance, if tiles are installed over a plywood subfloor that’s too bouncy, or directly over old, shifting laminate, it creates stress points that tiles can’t withstand. As experts in home repair, we often see that improper installation is a common cause of tile cracking, which can lead to temporary repairs that fail over time.
- Subfloor Issues: The surface beneath your tiles plays a crucial role. An uneven or unstable subfloor can cause stress on the tiles above, leading to cracks. If the subfloor itself is damaged or flexing, it will inevitably transfer that movement to your rigid tiles.
- Foundation Settling: While less common for minor cracks, significant foundation settling can cause widespread tile damage. Even minor shrinkage in a concrete foundation slab during its curing process (which is mostly complete within 28 days but continues for years) can lead to subtle shifts that stress brittle tiles. You can learn more about understanding concrete shrinkage and its effects.
- Thermal Stress: Tiles expand and contract with temperature changes. In areas with drastic temperature fluctuations, such as sunrooms or outdoor patios, this constant expansion and contraction can lead to cracks.
Signs of Underlying Problems
Sometimes, a cracked tile isn’t just a standalone incident; it’s a symptom of a deeper issue. It’s important to be a detective and look for these signs:
- Spreading Cracks: If a hairline crack quickly grows into a larger fracture, or if multiple cracks appear around the same area, it might indicate an unstable subfloor or foundation movement.
- Multiple Cracked Tiles: A single cracked tile might be an accident, but several cracked tiles in an area often point to an installation flaw or a structural problem underneath.
- Hollow Sound: Tap around the cracked tile and its neighbors. If you hear a hollow sound, it suggests that the tile has debonded from the substrate, making it vulnerable to further cracking.
- Water Damage Risk: Any crack creates a pathway for water to seep underneath. This can lead to moisture being trapped beneath the tile, potentially causing costly subfloor damage, mold growth, or weakening of the surrounding tiles and grout. As the experts at The Spruce note, “A cracked tile can easily cause a leak by letting water penetrate the tile surface and reach the subfloor.”
Types of Tile Damage
Before we jump into fixing, let’s understand the different kinds of damage your tiles might face:
- Hairline Cracks: These are thin, superficial lines that don’t always penetrate the entire tile. They often result from minor impacts or stress and are usually the easiest to repair.
- Chips: This occurs when a small piece of the tile, typically from an edge or corner, breaks off. Chipped tiles are common in high-traffic areas or where objects are frequently dropped.
- Gouges: Deeper than a scratch, a gouge is a significant indentation or channel in the tile surface.
- Shattered Tiles: When a tile breaks into multiple, distinct pieces, it’s shattered. This usually requires replacement rather than repair.
- Loose Tiles: A tile that moves or lifts from its setting bed, often accompanied by a hollow sound when tapped. This indicates the adhesive has failed.
- Discoloration: While not a crack, discoloration can be a sign of underlying moisture issues or improper cleaning. It’s essential to pinpoint the specific type of damage, including discoloration, pits, and erosion, before deciding on the right repair method.
- Pits and Erosion: These are small indentations or worn-away areas on the tile surface, often due to chemical exposure or abrasive cleaning.
Repair or Replace? Making the Right Call
This is the million-dollar question, or rather, the $20 to $400 question! Deciding whether to repair or replace a cracked tile depends on several factors.
- Severity of Damage:
- Repair: Hairline cracks, small chips, or minor surface imperfections are excellent candidates for cracked tile repair. DIY repair kits for cracked tiles typically cost between $20 and $50, making them a budget-friendly option.
- Replace: If a tile is shattered, has large missing pieces, or the crack extends across a significant portion of the tile, replacement is usually the best course of action. Also, if the crack is due to an underlying issue like a major subfloor problem, a simple repair won’t solve the root cause.
- Tile Location:
- High-traffic areas: Tiles in high-traffic areas, like a kitchen or entryway, endure more wear and tear. A repaired tile in such a spot might not withstand the constant stress and could soon face another round of damage. A replacement might be more durable in the long run.
- High-moisture areas: In bathrooms, showers, or areas prone to spills, a repaired crack might still allow moisture to penetrate, potentially leading to mold or subfloor damage. A full replacement ensures a complete waterproof barrier.
- Aesthetic Concerns: If a repair will be highly visible and difficult to blend seamlessly, replacing the tile might be preferred for a cleaner look. This is especially true for intricate patterns or unique tile designs.
- Availability of Matching Tiles: This is a big one! Keeping spare tiles from the original installation can significantly simplify future repairs. If you don’t have spares and the tile is discontinued, matching it perfectly can be a serious challenge, making repair a more attractive option, even for more significant damage.
- Cost Comparison: The cost to repair a cracked tile can range from $100 to $400 if you hire a professional. DIY repair is much cheaper. Replacing a single tile yourself might cost a bit more for materials but saves on labor. If you’re replacing many tiles or an entire floor, the costs escalate quickly.
We believe that for minor to moderate damage, cracked tile repair is a smart, cost-effective solution. As the folks at The Spruce say, repairing a tile crack without replacement is often a viable alternative to full replacement, especially for hairline cracks from impact.
Your Step-by-Step Guide to Cracked Tile Repair
Now comes the fun part – rolling up your sleeves and getting that cracked tile repair done! Don’t worry if you’ve never tackled this before. With the right approach and a little patience, you’ll be amazed at how professional your repair can look.
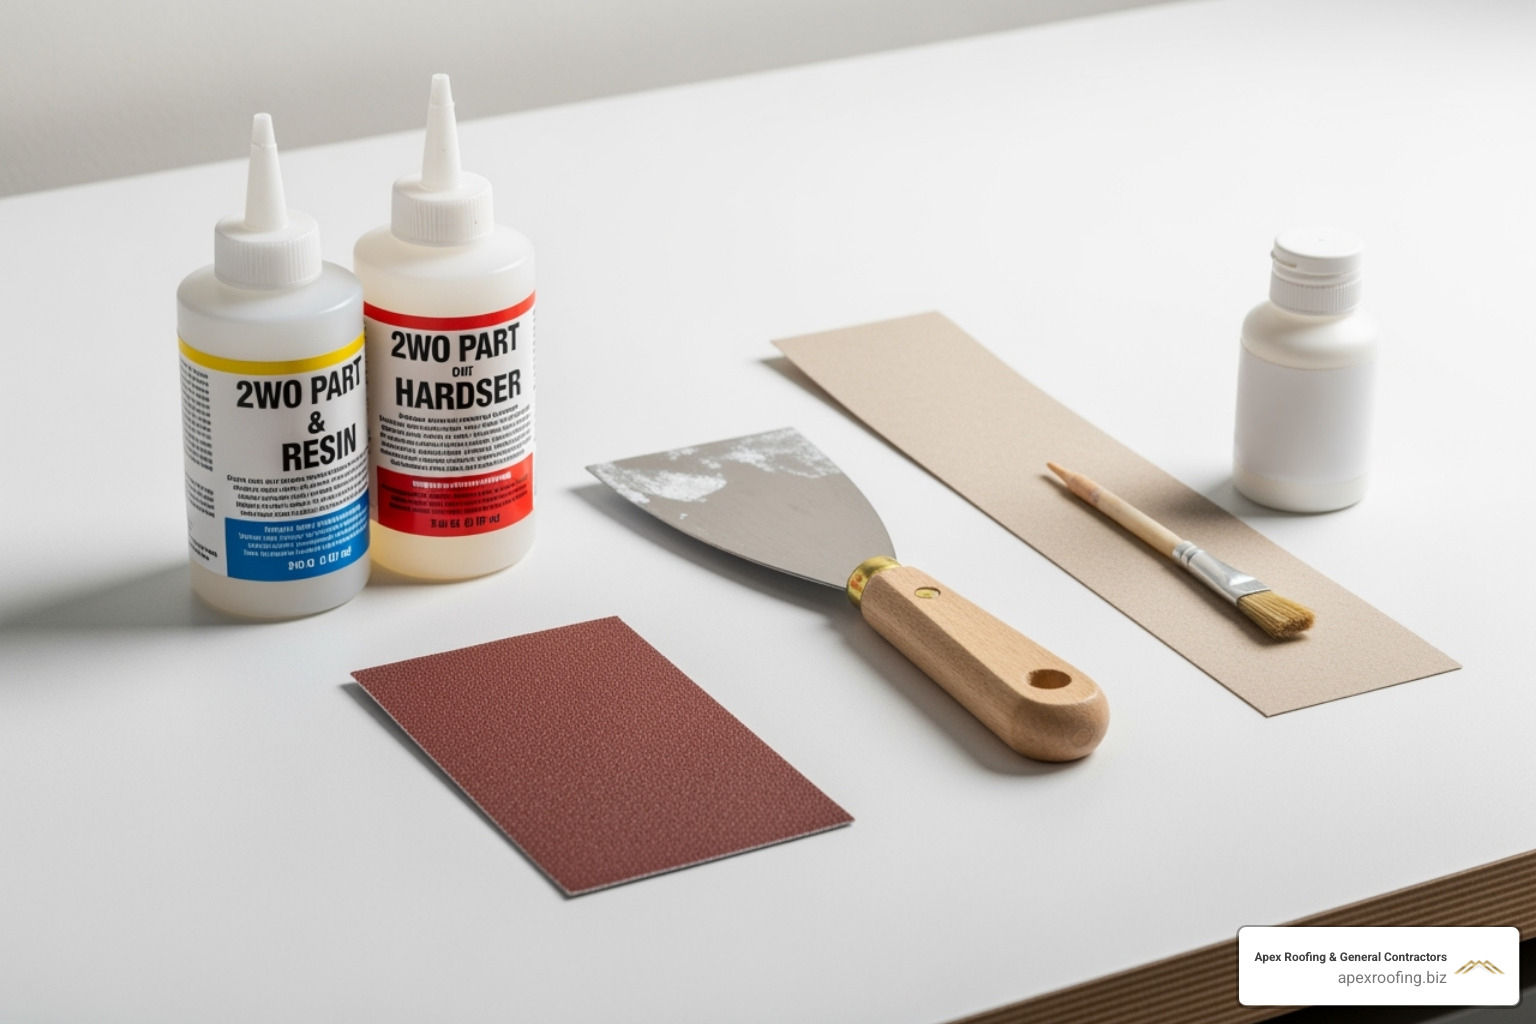
Before we dive in, let’s make sure you have everything you need. There’s nothing worse than getting halfway through a project and realizing you’re missing a crucial tool!
Essential Tools and Materials:
- Safety goggles and gloves
- Two-part epoxy or tile repair kit
- Putty knife or craft stick
- Rubbing alcohol and clean cloths
- Fine-grit sandpaper
- Tile paint and small paintbrush
- Clear urethane sealer
You’ll also want some painter’s tape to protect surrounding tiles and toothpicks for working with hairline cracks. Trust me, these little details make all the difference in achieving a clean, professional-looking result.
Step 1: Prepare the Area and Tile
Good preparation is like a solid foundation – it’s what makes everything else work smoothly. Skip this step, and you might find yourself redoing the repair later.
Start with safety precautions. Put on those safety goggles and gloves, and make sure you have good ventilation in your work area. Open a window or turn on a fan, especially when working with epoxy. The fumes aren’t dangerous in small amounts, but fresh air makes the job more pleasant.
Cleaning the tile is absolutely critical for a lasting repair. Begin with warm soapy water to remove any dirt or grime, then rinse thoroughly and let it dry completely. Follow up by wiping the area with rubbing alcohol – this removes any soap residue or oils that could prevent your repair materials from bonding properly.
Next, carefully remove any loose debris from the crack or chip using a utility knife or sharp tool. You want a clean, stable surface for your repair material to grab onto. Finally, tape off the surrounding tiles with painter’s tape. This creates clean boundaries and protects your good tiles from accidental spills.
Step 2: How to Approach Hairline Cracked Tile Repair
Hairline cracks are actually the easiest type of damage to fix, and when done right, the repair can be nearly invisible. Think of it as giving your tile a tiny, precision bandage.
Start by mixing your two-part epoxy according to the manufacturer’s instructions. Most kits require equal parts of two components mixed thoroughly until you get a consistent color and texture. Work quickly here – epoxy doesn’t wait around for anyone!
For applying epoxy into the crack, a toothpick becomes your best friend. Dip it into the mixed epoxy and carefully work it directly into the crack, making sure to fill it completely. The epoxy needs to penetrate deep into the fissure for a strong repair.
Using a toothpick or the edge of a craft stick, immediately smooth the surface so the epoxy sits flush with the tile. Wipe away any excess from the surrounding area before it starts to cure – speed matters at this stage!
Now comes the hardest part: waiting for the curing time. Follow the manufacturer’s instructions religiously, which usually means anywhere from a few hours to overnight. I know it’s tempting to check if it’s ready, but patience here pays off with a much stronger repair.
Step 3: Advanced Cracked Tile Repair: Fixing Chips and Gaps
Chips and larger gaps require a bit more finesse, but they’re still very much within DIY territory. You’re essentially rebuilding the missing piece of your tile.
Filling the chip starts with applying your mixed epoxy directly into the void. For deeper chips, you’ll want to build up layers rather than trying to fill everything at once. Apply one layer, let it partially cure, then add the next. This prevents sagging and ensures each layer bonds properly with the one below.
Once your repair material is fully cured, it’s time for sanding for a seamless finish. Start with fine-grit sandpaper (around 220-grit) and work your way up to 400-grit for the smoothest result. Take your time here – you want the repaired area perfectly flush with the surrounding tile surface.
Color matching paint can be the trickiest part, but it’s also where you can really make your repair shine. Take a sample of your tile or a clear photo to a paint store for color matching. Many tile repair kits also include colorants you can mix to achieve the right shade.
Apply the paint with a small artist’s brush, and if your tile has texture or pattern variations, consider faux-finishing techniques like stippling with a natural sponge. Some complex tiles might need multiple color blends to achieve a perfect match.
Finally, seal the repair with a clear urethane sealer once the paint has dried completely. This protects your work, adds durability, and helps blend the repair into the tile’s original sheen. The result? A repair that’s so seamless, you’ll have trouble finding it yourself!
Best Practices for Prevention and Long-Lasting Repairs
Once you’ve successfully completed your cracked tile repair, the last thing you want is to repeat the process in a few months. Think of it like maintaining your home’s roof – a little prevention goes a long way toward avoiding costly problems down the road.
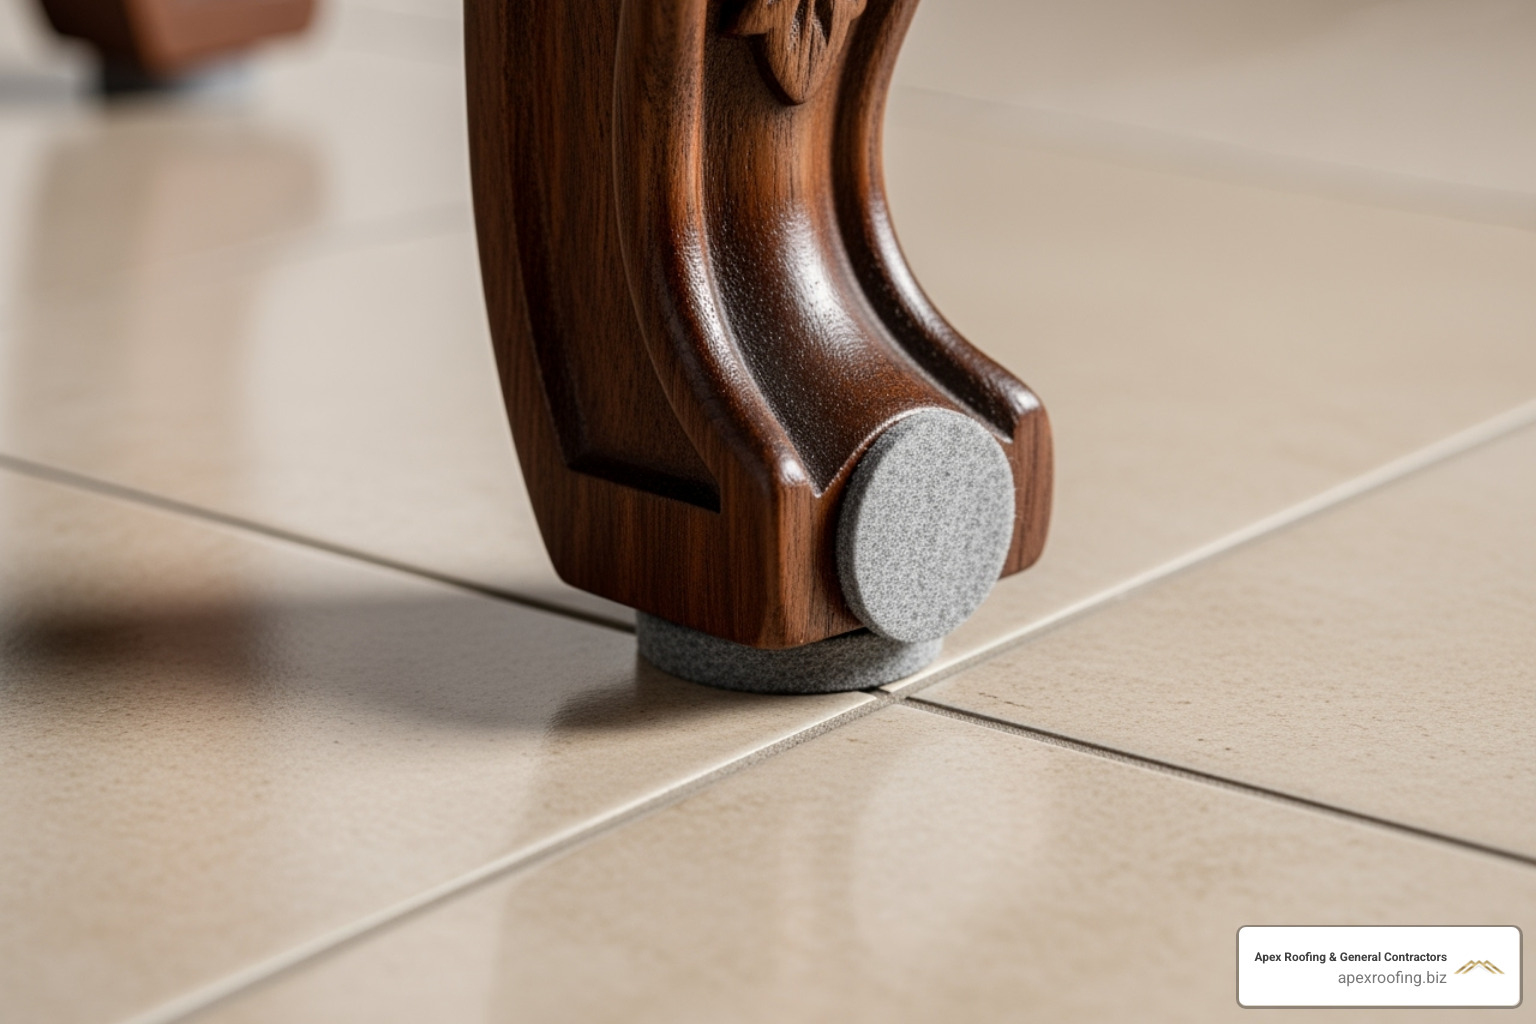
The secret to keeping your tiles looking great isn’t complicated, but it does require some thoughtful habits. Using furniture pads is one of the smartest investments you can make. Those simple felt pads under chair legs and table corners prevent countless scratches and chips when furniture gets moved around. Trust me, dragging a heavy dining room chair across your beautiful tile floor is a recipe for regret.
Avoiding harsh cleaners is equally important for long-term tile health. Those powerful chemical cleaners might promise sparkling results, but they can actually wear down your tile’s protective surface over time, making it more vulnerable to damage. Stick with mild soapy water for your regular cleaning routine – your tiles will thank you for the gentler treatment.
Water is both tile’s friend and enemy, which is why promptly cleaning spills matters so much. Even the tiniest crack can become a highway for moisture to reach your subfloor, potentially causing mold growth and structural damage. In kitchens and bathrooms especially, wiping up spills immediately isn’t just about appearance – it’s about protecting your entire floor system.
Regular inspection might sound tedious, but it’s actually quite simple. During your normal cleaning routine, keep an eye out for new hairline cracks, loose spots, or changes in your grout lines. Catching problems early means easier fixes and lower costs. It’s the same principle we use in roofing – small issues caught early prevent major headaches later.
Keeping spare tiles from your original installation is like having insurance for your floors. Tile patterns and colors get discontinued all the time, and having matching tiles on hand makes future repairs seamless. If you’re planning new tile work, always ask your contractor to order extra – it’s a small upfront cost that can save you significant frustration later.
Your grout deserves attention too, since it’s what protects the edges of your tiles and keeps moisture out. Grout maintenance includes regular cleaning to prevent discoloration and applying a quality grout sealer in high-moisture areas every year or two. Clean grout not only looks better but also performs its protective job more effectively.
Sometimes tile problems stem from deeper issues, like subfloor movement or foundation settling. If you notice multiple tiles cracking in the same area, it might indicate structural problems that need professional attention. Just like how gutter maintenance is important for your home’s foundation, proper subfloor preparation and maintenance protects your entire tiling investment.
The key to successful tile maintenance is consistency, not perfection. Small daily habits like using coasters, placing mats in high-traffic areas, and being mindful when moving heavy objects will keep your tiles looking great for years to come.
Frequently Asked Questions about Tile Repair
Over the years, we’ve fielded countless questions about cracked tile repair from homeowners throughout San Antonio. Here are the most common concerns we hear, along with detailed answers to help guide your repair decisions.
Can a cracked tile lead to water damage if not repaired?
This is probably the most important question we get, and the answer is a resounding yes! Even the tiniest crack creates a pathway for water to sneak underneath your tile. Think of it like a tiny leak in your roof – what starts small can quickly become a big problem.
When water seeps beneath tiles, it can cause subfloor damage by rotting wooden subfloors or degrading concrete. This leads to expensive structural repairs that make a simple tile fix look like pocket change. The trapped moisture also creates the perfect breeding ground for mold and mildew, which poses health risks and can be incredibly difficult to remove once it takes hold.
Water can also break down the adhesive holding your tile in place, causing it to become loose or even pop up entirely. In colder climates, the freeze-thaw cycle makes things even worse, as expanding ice can turn a hairline crack into a major fracture.
How long does a typical tile repair last?
A properly executed cracked tile repair using quality epoxy on a stable tile can last for many years – often for the remaining lifespan of the tile itself. We’ve seen well-done repairs that look perfect after a decade or more.
However, there’s an important caveat here. If the original crack was caused by an underlying issue like a shifting subfloor or foundation movement, your repair might only be a temporary solution. It’s like patching a hole in your roof without fixing the leak that caused it – you’ll likely see the problem return.
This is why it’s crucial to identify what caused the crack in the first place. If it was just a dropped pot or accidental impact, your repair should last indefinitely. But if multiple tiles are cracking or you notice other signs of structural movement, you’ll want to address the root cause first.
How do I find paint that perfectly matches my tile?
This is where many DIY repairs either shine or fall flat, and we get why it’s such a common concern. The key is being methodical about color matching rather than guessing.
Your best bet is to take a clear, well-lit photo of your tile or even better, a small chip of the actual tile to a paint store for professional color matching. Most major paint retailers have sophisticated color-matching technology that can create a custom blend.
Many tile repair kits also come with tinting pigments that let you mix custom colors. Start with the base color closest to your tile, then add small amounts of tint until you get the right shade.
Here’s a pro tip: always test your color match on a spare piece of tile or an inconspicuous area first. Take a step back and look at it in different lighting conditions throughout the day. Natural sunlight can reveal color differences that aren’t obvious under artificial light.
For tiles with complex patterns or multiple colors, you might need to use faux-finishing techniques like stippling with a natural sponge to recreate the original texture and color variations. It takes a bit more patience, but the results can be virtually invisible.
The bottom line is this: taking time with color matching is what separates a repair that stands out like a sore thumb from one that blends seamlessly with your existing tiles.
Need a Hand? Contact the Experts
Let’s be honest – while cracked tile repair can be a satisfying weekend project, sometimes you need to know when to wave the white flag. There’s no shame in calling in the professionals, especially when you’re dealing with bigger issues that could turn into costly headaches down the road.
If you’re staring at multiple broken tiles scattered across your floor, it might be telling you there’s something more serious going on underneath. Foundation settling, subfloor damage, or installation problems often show up as widespread tile damage. These aren’t problems you want to tackle with just epoxy and paint – they need an experienced eye and professional tools.
Maybe you’ve got the skills but not the time. Or perhaps you’re looking at a high-visibility area like your main entryway where anything less than perfection just won’t cut it. Some homeowners simply prefer the peace of mind that comes with a professional warranty and the guarantee that the job will be done right the first time.
When to call the pros:
- Multiple tiles showing damage in the same area
- Hollow sounds when tapping around damaged tiles
- Visible subfloor movement or bouncing
- Water damage signs like discoloration or musty odors
- High-end or specialty tiles that are expensive to replace
The team at Apex Roofing & General Contractors brings years of experience to every handyman repair project throughout the San Antonio, TX area. We understand that tile problems often connect to bigger home maintenance issues – just like how we approach roofing, we look at the whole picture to ensure lasting results.
Our approach is straightforward: we assess the damage, identify any underlying causes, and provide you with honest recommendations. Sometimes that means a simple repair, other times it means addressing subfloor issues before they cause more expensive problems throughout your home.
Ready to get your tiles back to looking their best? We offer free, no-obligation estimates so you can make an informed decision about your repair options. Call us today at (726) 727-7663 to schedule your free inspection – we’ll help you determine whether your tile issues are a quick DIY fix or something that needs professional attention.


